I have had my eye on this marshmallow recipe since I saw this beautiful book last year, and decided to make the mint variety. I made them slightly green but I think next time would do red/pink and sprinkle in some crushed candy canes for increased visual appeal. The green along with the spongy alien texture was slightly off putting but they were still delicious! This recipe is so easy! I gave all of what this pan made away but I was tempted to squirrel it all away for a cocoa krispies rice krispie treat with the mint marshmallows!
I will be making these again!

Butter's Famous Marshmallows Recipe, mint variety
from the Butter Baked Goods
Serves: 64 1x1-inch marshmallows
- 1 cup water
- 3 envelopes unflavored gelatin
- 2 cups granulated sugar
- 1⁄2 cup light corn syrup
- 1⁄2 teaspoon salt
- 2 tablespoons pure vanilla
- 1 tsp peppermint extract
- a few drops green or red food coloring
- Generous amount of icing sugar to coat the marshmallows, about 2 cups
- You will need: 1 (9- × 9-inch) baking pan, buttered
- In a stand mixer fitted with a whisk attachment, pour in 1⁄2 cup of the water and sprinkle with the gelatin. Set aside to allow the gelatin to soak in.
- In a medium saucepan over high heat, add the sugar, corn syrup, salt and remaining 1⁄2 cup of water. Bring to a rolling boil and continue to boil for 1 minute. Remove from the heat.
- Turn the mixer to low and mix the gelatin once or twice to combine it with the water. Slowly add the hot sugar mixture, pouring it gently down the side of the bowl, and continue to mix on low.
- Turn the mixer to high and continue to whip for 10 to 12 minutes until the marshmallow batter almost triples in size and becomes very thick. Scrape down the sides of the bowl frequently to avoid the batter overflowing as it grows. Stop the mixer, add the vanilla, peppermint extract, and green food coloring, and then whip briefly to combine.
- Transfer the mixture to the prepared baking pan and use a spatula or bench scraper to spread it evenly in the pan. Work quickly, as the marshmallow becomes more difficult to manipulate as it sets.
- Grease a sheet of plastic wrap with butter and lay it across the top of the marshmallow. Press down firmly on the plastic wrap, to seal it smoothly and tightly against the mixture.
- Leave the marshmallow to set at room temperature for at least 3 hours or, even better, overnight. The marshmallow will be too sticky and soft to cut if you try too soon.
- Sprinkle a work surface or cutting board with the icing sugar. Run a knife along the top edge of the pan to loosen the marshmallow slab. Invert the pan and flip the marshmallow out onto the counter or board. Scoop up handfuls of the icing sugar and rub all over the marshmallow slab.
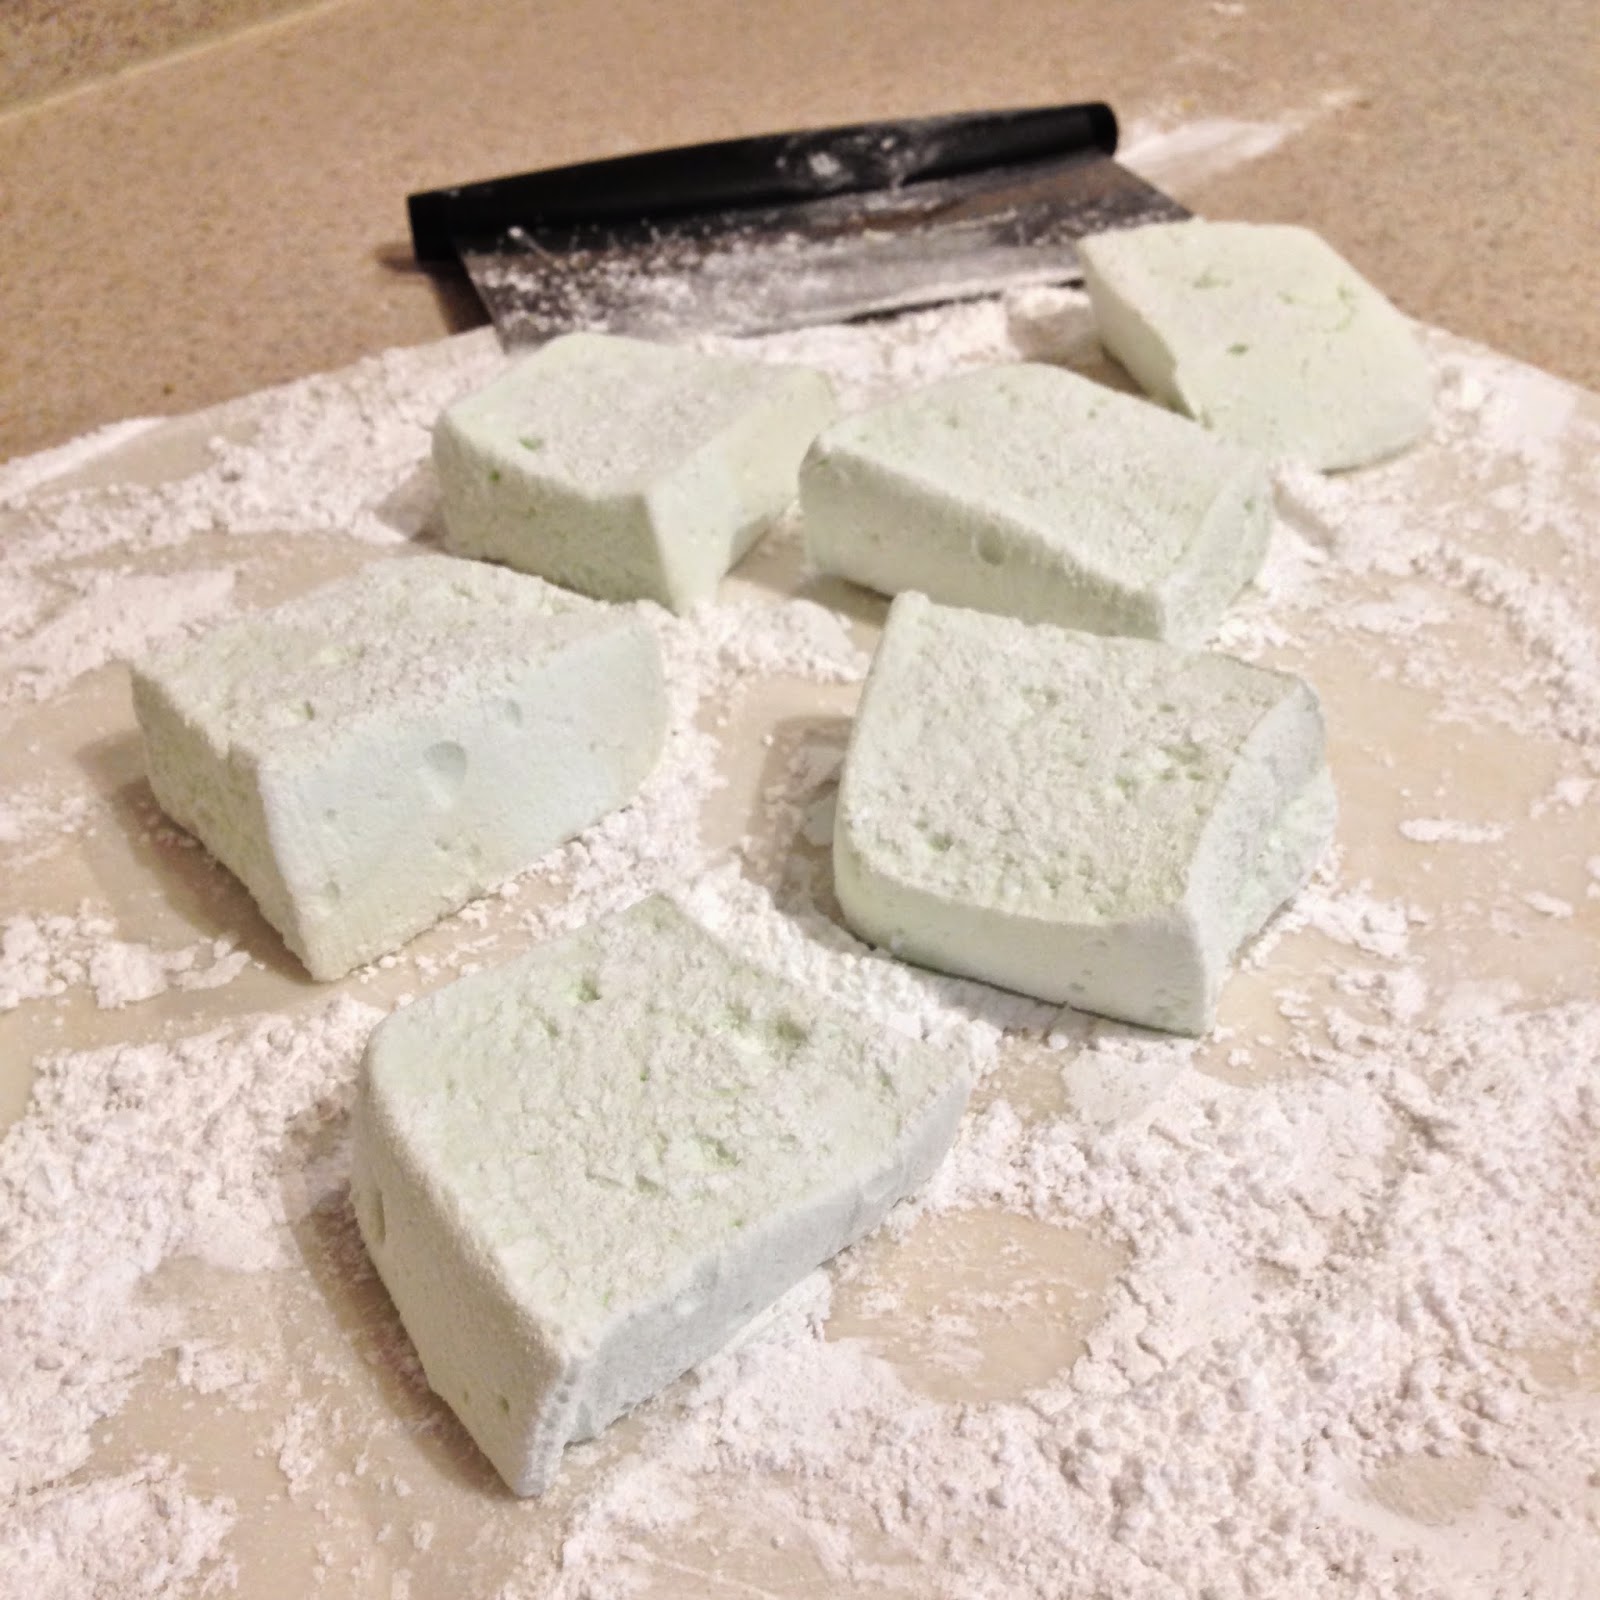
- Use a large knife to cut the slab into 1- × 1-inch squares. Roll each of the freshly cut marshmallow squares in the remaining icing sugar to coat them completely. (In this picture I cut into 2-inch squares 1-inch high, about the size that would fit in a mug of hot cocoa. Be creative!)
No comments:
Post a Comment