Saturday, October 29, 2011

Secret Agent Cookies

Secret Agent Cookies 
These cookies have a funny little story from today, but I can't tell you what it is.

No really.  I mean, I could tell you, but then I'd have to kill you.

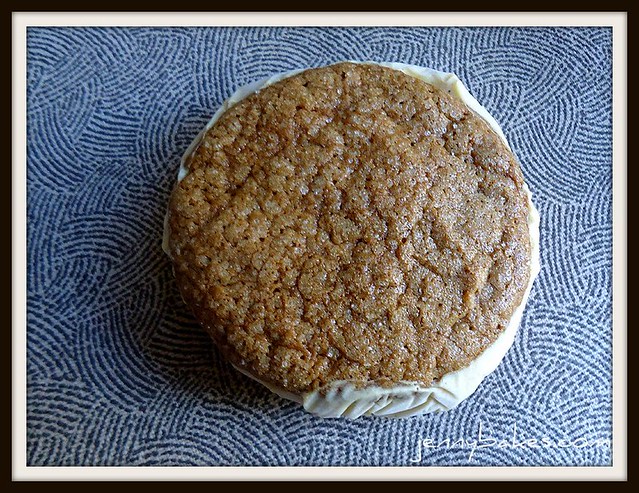
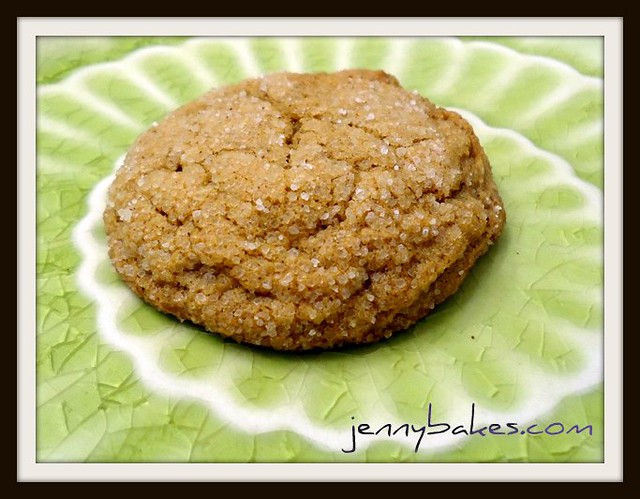
What I can tell you is that this recipe from Two Peas and Their Pod will not disappoint you.  The pumpkin isn't the prominent flavor, but this is a soft, delicious, fall cookie.  They call them gingersnaps, but they aren't that snappy - I'd call them pumpkin ginger cookies. 

Tuesday, October 18, 2011

Ginger Cookie Pumpkin Ice Cream Sandwiches

Pumpkin Ginger Ice Cream Sandwich
It can't be fall in my house without making big soft ginger cookies.  This year I was looking for new things to try, and decided they would be perfect for ice cream sandwiches.  Their softness would hold up to freezing and still be pliable enough to eat with something cold inside.  I made the pumpkin ice cream from The Craft of Baking, because that is the recipe David Lebovitz cited in his blog post with a pumpkin ice cream recipe, and I own it!  This is the first time I've made ice cream that didn't turn to stone in the freezer, and is pleasantly pliable but not too soft.  It may be the lack of cooking, really.  The egg yolks are tempered but not cooked again on the stove.  Maybe that was a mistake in the recipe, but the taste is delicious and creamy and very very pumpkiny.  I did add a bit of pumpkin powder from the herb store in addition to the canned pumpkin, and I think it added a dimension of flavor.

I hear what you're thinking.  Pumpkin and ginger make sense for fall, but not ice cream sandwiches!  That may be true in most of the world, but here in South Carolina the temperature went back to the upper 80s today, so we are dying for cold treats.  I just wasn't ready to completely let go of fall!

Monday, October 17, 2011

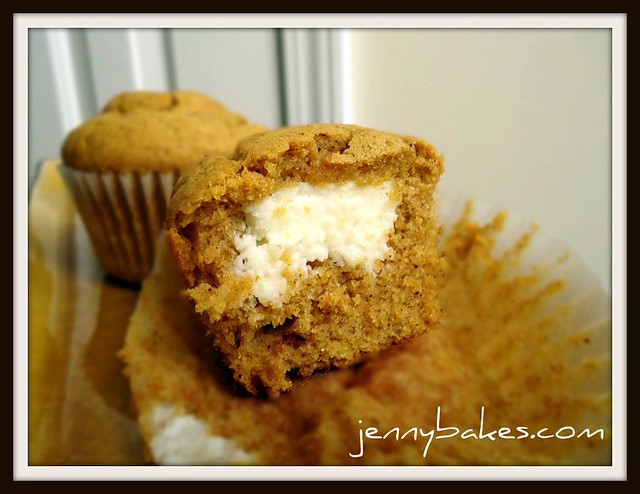
Pumpkin Cream Cheese Muffins

Pumpkin Cream Cheese Muffins
Having finally wrestled a pantry full of canned pumpkin away from the guy who usually beats me to the store to buy it for his dogs, fall baking has been going full force in October!  First were the pumpkin cinnamon roll pancakes, which were amazing.  I made a gluten-free version of harvest muffins after a week of eating no wheat, but most of them were thrown away instead of consumed.  That's all I'll say about that!  I made another half batch of "real" harvest muffins later, which is something we have every year.

Still, I can't just make everything I always make just because we like it.  So I went looking for a recipe similar to the old Starbucks pumpkin cream cheese muffins.  I found this promising recipe on The Girl Who Ate Everything's blog, and these were tasty.  In fact, I think I prefer the pumpkin part to the harvest muffin pumpkin part (it could be the butter vs. oil difference; these have oil and were very tender).  I even skipped her streusel topping, but I'm sure that would add to the decadence.  I also didn't chill the cream cheese part for 2 hours, just mixed it with the powdered sugar and popped it in the freezer until I was scooping batter into the muffin tins.  It worked just fine without the extra time.  Also, I divided the recipe in half, because this recipe makes 24!  Even half made a good 14. 

Pumpkin Cream Cheese Muffins
Source: Annie's Eats
Makes 24 muffins
Print Recipe

Ingredients:
For the filling:
8 oz. cream cheese, softened
1 cup powdered sugar

For the muffins:
3 cups all-purpose flour
1 teaspoon ground cinnamon
1 teaspoon ground nutmeg
1 teaspoon ground cloves
1 tablespoon plus 1 teaspoon pumpkin pie spice
1 teaspoon salt
1 teaspoon baking soda
4 large eggs
2 cups sugar
2 cups pumpkin puree (see Note)
1¼ cups vegetable oil

For the topping:
½ cup sugar
5 tablespoons flour
1½ teaspoons ground cinnamon
4 tablespoons cold unsalted butter, cut into pieces

Note: A standard sized can of pumpkin is 15 ounces, just shy of 2 cups (16 ounces). You could open another can if you want and freeze the extra or just use one can which is what I did. The amount is so little I don't think it makes a difference in the final product.

Directions:
To prepare the filling, combine the cream cheese and powdered sugar in a medium bowl and mix well until blended and smooth. Transfer the mixture to a piece of plastic wrap and shape into a log about 1½-inches in diameter. Smooth the plastic wrap tightly around the log, and reinforce with a piece of foil. Transfer to the freezer and chill until at least slightly firm, at least 2 hours. The mixture will still be somewhat soft but firmer.

To make the muffins, preheat the oven to 350˚ F. Line muffin pans with paper liners. In a medium bowl, combine the flour, cinnamon, nutmeg, cloves, pumpkin pie spice, salt and baking soda; whisk to blend. In the bowl of an electric mixer combine the eggs, sugar, pumpkin puree and oil. Mix on medium-low speed until blended. With the mixer on low speed, add in the dry ingredients, mixing just until incorporated.

To make the topping, combine the sugar, flour and cinnamon in a small bowl; whisk to blend. Add in the butter pieces and cut into the dry ingredients with a pastry blender or two forks until the mixture is coarse and crumbly. I always get inpatient here and mix it together with my hands so that it looks like the texture of wet sand. I know you aren't supposed to do it this way but I'm impatient. Transfer to the refrigerator to chill until ready to use.

To assemble the muffins, fill each muffin well with a small amount of batter, just enough to cover the bottom of the liner (1-2 tablespoons). Slice the log of cream cheese filling into 24 equal pieces. Place a slice of the cream cheese mixture into each muffin well. You want to put the cream cheese lower than you think because it will rise a lot during the baking process. Divide the remaining batter among the muffin cups, placing on top of the cream cheese to cover completely. Sprinkle a small amount of the topping mixture over each of the muffin wells.

Bake for 20-25 minutes. Transfer to a wire rack and let cool completely before serving. I like them warm, cold, and room temperature.
Sunday, October 09, 2011

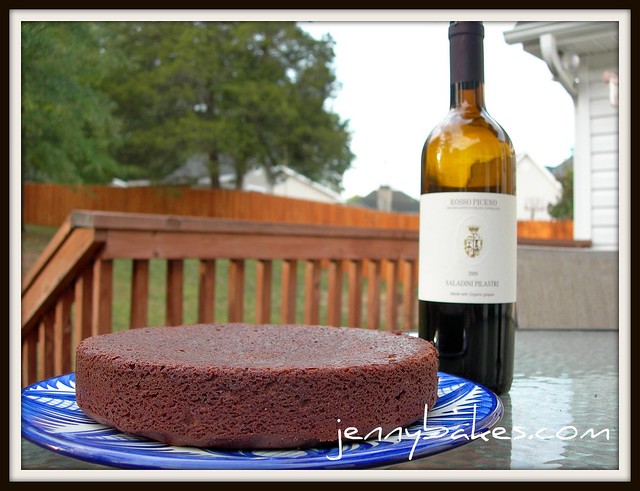
Smitten Kitchen Red Wine Chocolate Cake

Red Wine Chocolate Cake
Here I continue my salivating over Smitten Kitchen - her beautiful pictures and enticing recipes that I'm never sorry I tried! I had just been given a bottle of red wine at work, and knowing how I never drink more than a glass, I came across her recipe for red wine chocolate cake. I knew I had to try it.


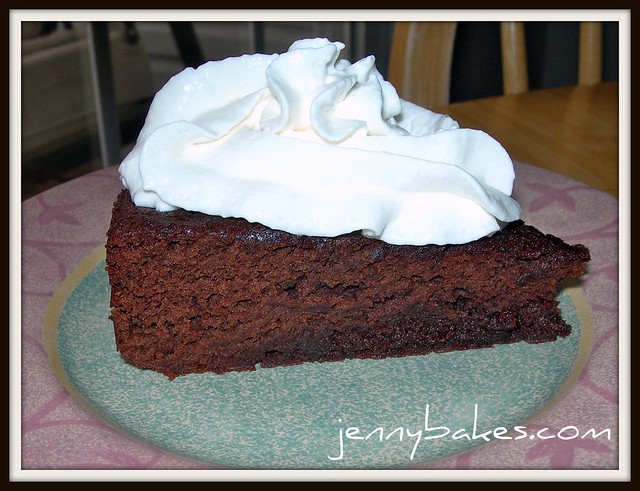
Red Wine Chocolate Cake
What does red wine taste like in chocolate cake? Well I think you'll be surprised when you try it (DO try it). Rather than it being winey or adding a fruity twinge to the cake, it creates similar magic to coffee or coke in a chocolate cake - liquid but not dairy, so the chocolate just comes through. It tastes... like chocolate. Unaltered. Delicious.

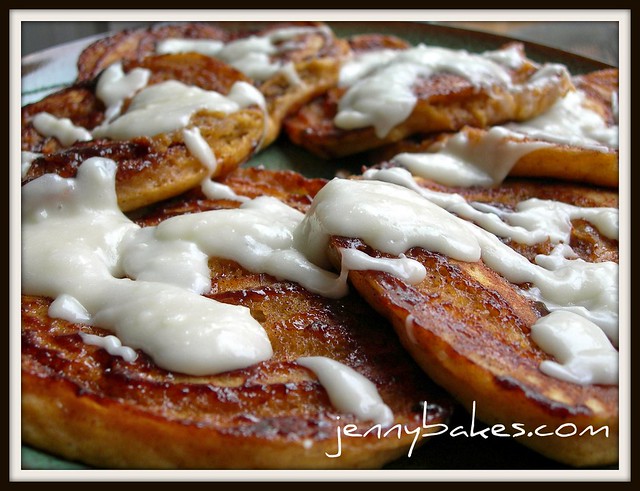
Pumpkin Cinnamon Roll Pancakes


Pumpkin Cinnamon Bun Pancakes
I've had this recipe bookmarked for a week or so, but that was still TOO LONG TO WAIT for these amazing pancakes. Head on over to RecipeGirl for the recipe and step by step instructions for Pumpkin Cinnamon Roll Pancakes.  You will not be sorry.  These should be required for fall!

Tuesday, September 27, 2011

Daring Bakers September 2011 - Croissants

Daring Bakers - Croissants
The Daring Bakers go retro this month! Thanks to one of our very talented non-blogging members, Sarah, the Daring Bakers were challenged to make Croissants using a recipe from the Queen of French Cooking, none other than Julia Child!

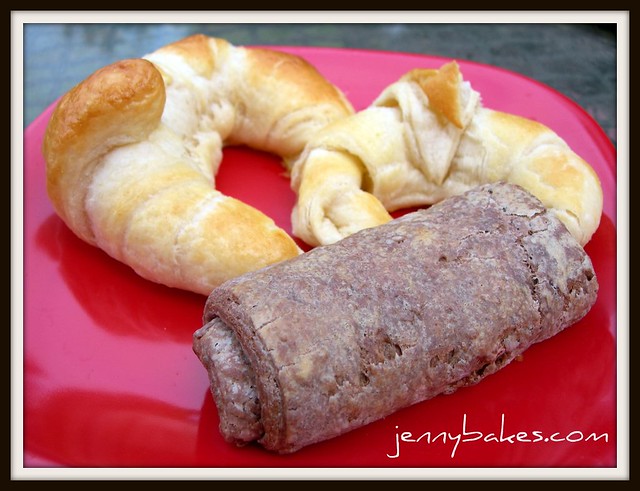
I had actually made croissants before, from a different Julia Child recipe, and had a better result than I did this time around.  I'm not sure of the difference.  At one point I think I rolled out one too many times, but that should have created more layers, not the deflated croissants I ended up with.  The last time I also chilled between EVERY step, and this time didn't do that because the recipe didn't ask me to.

Oh yeah, also, I tried making chocolate croissant dough by substituting 1/4 cup of the flour with cocoa powder.  As you can probably tell by my attempt at a double chocolate croissant, it didn't exactly work out.  The dough was way too dry and never really recovered, and butter was poking through at every turn.  I wanted to try something new!  Perhaps I should have done it by weight instead of volume.

Sunday, September 25, 2011

Rosemary Shortbread

Rosemary Shortbread
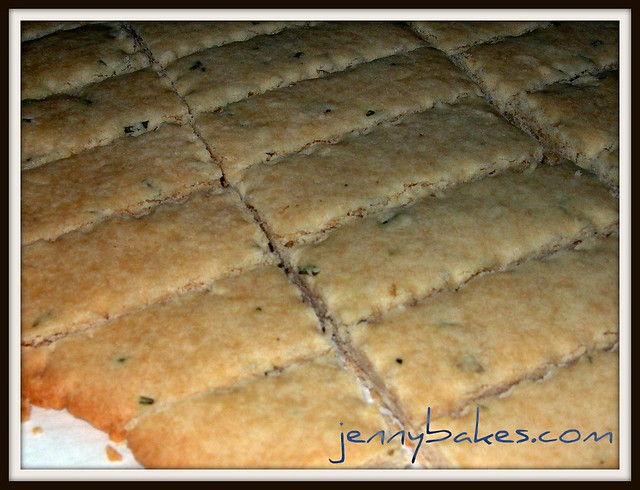
My co-worker has brought rosemary shortbread to two library functions and my reaction has been a little like... hmm, but I don't like shortbread. But that smells really good. Oh god, I guess I DO like shortbread!  I begged the recipe off of her, and it can be found on Epicurious.com, and also below.

I'm not really convinced I have been converted to the shortbread fan club (don't tell the Scottish contingent of my relatives), but this particular shortbread is delicious.  The combination of sweet with the savory rosemary is compelling, and confuses your tastebuds enough to go back for more.  Do I like this?  Yes I do! I used rosemary from my garden.

Sorry for the dim picture.  I made this batch for a friend who had hit a milestone in her dissertation process, and sent it off the next morning.  It is too bad she doesn't live closer, because she loves shortbread, and this is best fresh out of the oven.

 Rosemary Shortbread
2 cups all-purpose flour
3/4 teaspoon salt
1/2 teaspoon baking powder
1 tablespoon chopped fresh rosemary
1 1/2 sticks (3/4 cup) unsalted butter, softened
2 tablespoons mild honey
1/2 cup confectioners sugar
1 tablespoon granulated sugar
Garnish: small rosemary sprigs
Special equipment: parchment paper

Preheat oven to 300°F.
Whisk together flour, salt, baking powder, and rosemary in a bowl.
Mix together butter, honey, and confectioners sugar in a large bowl with an electric mixer at low speed, then add flour mixture and mix until dough resembles coarse meal with some small (roughly pea-size) butter lumps. Gather dough into a ball and transfer to a lightly floured surface. Knead dough until it just comes together, about 8 times. Halve dough and form each half into a 5-inch disk.
Roll out 1 disk (keep remaining dough at room temperature) between 2 sheets of parchment into a 9-inch round (trim as necessary). Remove top sheet of parchment and transfer dough on bottom sheet of parchment to a baking sheet. Score dough into 8 wedges by pricking dotted lines with a fork, then mark edges decoratively. Arrange rosemary sprigs (if using) decoratively on top of dough, pressing lightly to help adhere, and sprinkle dough with 1/2 tablespoon granulated sugar.
Bake shortbread in middle of oven until golden brown, 20 to 25 minutes. Slide shortbread on parchment to a rack and cool 5 minutes. Transfer with a metal spatula to a cutting board and cut along score marks with a large heavy knife.
Make another shortbread with remaining dough.


Apple-Cream Cheese Bundt Cake with Praline Glaze

Apple-Cream Cheese Bundt Cake
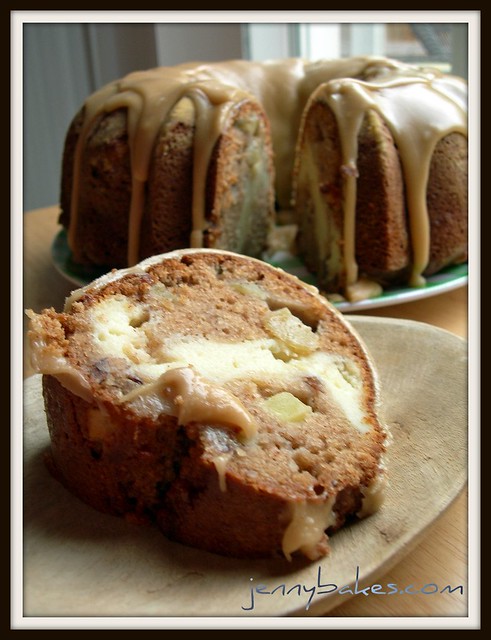
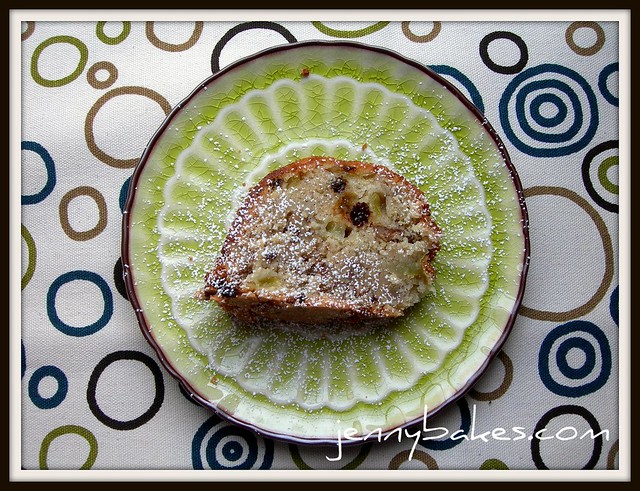
When I saw this recipe in Southern Living, I knew I'd be trying it out! We live close to apple orchards with a wide variety just over the border in North Carolina, so it easy to have an abundance of apples. I bought a 1/2 bushel (what was I thinking) and so far I've made two dehydrators full of dried apples, and this cake. It isn't quite as delicious as my Grandma's, but there is a lot going on in this cake - nuts, apples, spices, cream cheese swirl, and praline glaze. Something for everyone.

Apple-Cream Cheese Bundt Cake
Recipe from Southern Living September 2011


Ingredients

    CREAM CHEESE FILLING:
    1 (8-oz.) package cream cheese, softened
    1/4 cup butter, softened
    1/2 cup granulated sugar
    1 large egg
    2 tablespoons all-purpose flour
    1 teaspoon vanilla extract

    APPLE CAKE BATTER:
    1 cup finely chopped pecans (I was cheap and just bought the little 1/2 cup bag in the baking aisle)
    3 cups all-purpose flour
    1 cup granulated sugar
    1 cup firmly packed light brown sugar
    2 teaspoons ground cinnamon
    1 teaspoon salt
    1 teaspoon baking soda
    1 teaspoon ground nutmeg Since mine was freshly ground, I used about half this.
    1/2 teaspoon ground allspice
    3 large eggs, lightly beaten
    3/4 cup canola oil
    3/4 cup applesauce
    1 teaspoon vanilla extract
    3 cups peeled and finely chopped apples (about 1 1/2 lb.) I used Mutsu, and it only took 2 to get to three cups!

    PRALINE FROSTING:
    1/2 cup firmly packed light brown sugar
    1/4 cup butter
    3 tablespoons milk
    1 teaspoon vanilla extract
    1 cup powdered sugar

Preparation

    1. Prepare Filling: Beat first 3 ingredients at medium speed with an electric mixer until blended and smooth. Add egg, flour, and vanilla; beat just until blended.
    2. Prepare Batter: Preheat oven to 350º. Bake pecans in a shallow pan 8 to 10 minutes or until toasted and fragrant, stirring halfway through. Stir together 3 cups flour and next 7 ingredients in a large bowl; stir in eggs and next 3 ingredients, stirring just until dry ingredients are moistened. Stir in apples and pecans.
    3. Spoon two-thirds of apple mixture into a greased and floured 14-cup Bundt pan. Spoon Cream Cheese Filling over apple mixture, leaving a 1-inch border around edges of pan. Swirl filling through apple mixture using a paring knife. Spoon remaining apple mixture over Cream Cheese Filling.
    4. Bake at 350º for 1 hour to 1 hour and 15 minutes or until a long wooden pick inserted in center comes out clean. Cool cake in pan on a wire rack 15 minutes; remove from pan to wire rack, and cool completely (about 2 hours).
    5. Prepare Frosting: Bring 1/2 cup brown sugar, 1/4 cup butter, and 3 Tbsp. milk to a boil in a 2-qt. saucepan over medium heat, whisking constantly; boil 1 minute, whisking constantly. Remove from heat; stir in vanilla. Gradually whisk in powdered sugar until smooth; stir gently 3 to 5 minutes or until mixture begins to cool and thickens slightly. Pour immediately over cooled cake.
 

Monday, September 12, 2011

Nutella Cake Balls

Nutella Cake Balls
Cake balls are a simple but delicious treat that my husband has been begging me to make for months.  I'm not sure who first came up with them, but I'm 98% certain it was a bakery that often had cake remnants that they were just throwing away.

The next time this happens to you - dump about the same amount of tasty frosting, mush together, form into balls, chill, and dip in some form of chocolate.  Decorate as desired.  Cake, transformed.  :)

Sunday, September 11, 2011

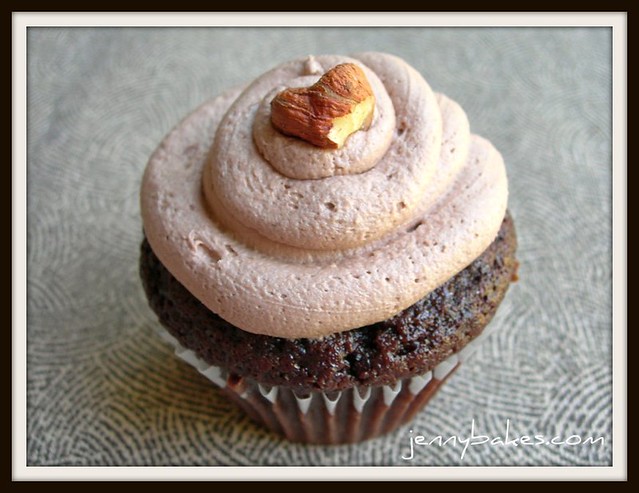
Nutella Cupcakes

Nutella Cupcake
I don't have as much to say about these, except that you should try this recipe!

I wanted a chocolate cupcake recipe, but I wanted it to be more than just chocolate.  I entertained thoughts of chocolate peanut butter, and chocolate mocha, but those seemed too common.  (I know, what was I thinking?  Never enough chocolate.)

Then I stumbled across MyBakingAddiction.com and the recipe for Nutella cupcakes.  I was sold!  The recipe on the site is more of a concept, and when it said to start with your favorite chocolate cupcakes, I used the recipe from America's Test Kitchen for ultimate chocolate cupcakes.  (I'm not linking to it because while it is free, you have to register each time, such a pain).  I'm not sure what I did differently but they were a bit dry and crumbly today.  Boo!  But once you gouge out the middles, fill them with Nutella, and top them with a frosting that is also half Nutella, who cares.  :)

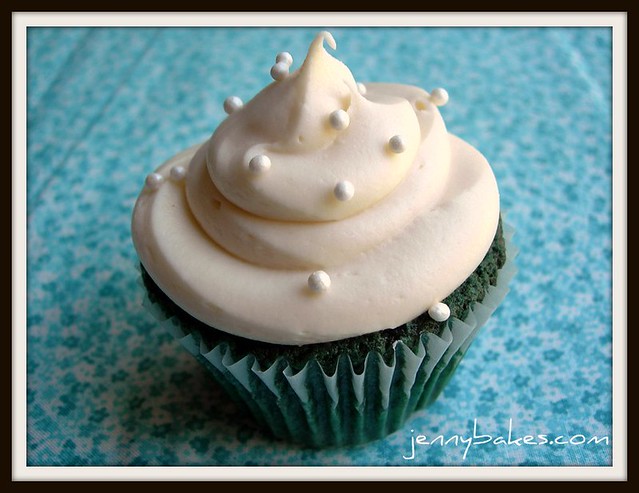
Teal Velvet Cupcakes

Teal Velvet Cupcake
Don't adjust your set. They really are that color. Ack! Well, let me explain....

I was preparing cupcakes for my annual student workers meeting, and I had been foiled on every count for the non-chocolate cupcake. The store was completely OUT of pumpkin, both Thursday and today. Apparently this is not because people are getting excited about making fall desserts once we're past Labor Day, no. Some guy regularly comes in and buys all the cans to feed his dogs. *shakes fist* I really wanted to make pumpkin cupcakes with maple cream cheese frosting, but didn't want to go to Wal-Mart.

Another favorite is red velvet, of course, particularly here in the south. I had a bunch of food coloring on hand, everything but red. I decided that blue velvet would be cool (and possibly more appealing than neon green, which I also seem to have in abundance). Blue velvet! Like blue suede! Or like the horse story! I squirted an entire tube in, and ended up with more of a teal.

Well, teal isn't all bad.  They were for my music library student workers, and the two official decor colors for the music building are purple and teal.  I could say I did it on purpose!  Sure, let's go with that. It tasted okay, not too chemically (a clear sign I did NOT use enough dye, ha), and I decided to just go ahead and see what happened when I baked them.

As you can see above, that teal turned into a deep forest green with a few blue undertones.  I guess I can blame the butter, or the buttermilk.  That is not teal.  That is definitely not blue!  It is more of a.... okay, it is green.  And everyone knows you should not make food green that didn't start out that way.  It makes people think of mold and decay.  I could have started over, but as usual I had left my baking project until the last minute, and it was too late to turn back.

I thought about making some kind of atrocious icing color, maybe make use of those neon food colorings for once, but decided to just let the cream cheese icing be, and sprinkled a few candy pearls on top.

By the way, I used the red velvet cupcake recipe I found on the Brown Eyed Baker blog, which she in turn found in the Hummingbird Bakery Cookbook, and was very happy with the texture.
I'm just not sure I can recommend the teal.

Friday, September 09, 2011

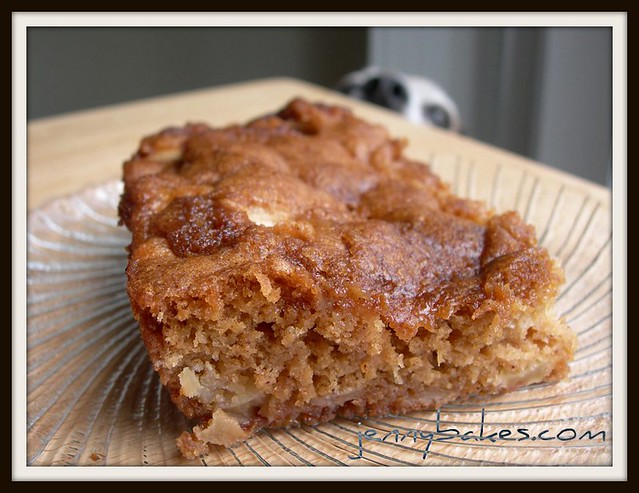
Grandma's Apple Cake

Frances's Apple Cake
I may have posted this before, but this is a recipe I've had in my life since I was born. My mother makes it, my grandmother, her mother, and her grandmother. I don't know where it comes from originally but at this point it is part of my own history, and I now share it with you.

Frances's Apple Cake
1/2 cup oil
1 3/4 cup sugar
2 eggs
5 cups apples, diced (I used jonagold, some of the first apples of the year!)
2 cups flour
2 tsp baking powder
1 tsp baking soda
1 tsp salt
1 tsp vanilla
1/2 cup walnuts

This recipe came to me with just ingredients, but in general I mix the diced apples with sugar, then the beaten eggs and vanilla, then mix in the dry ingredients, nuts last. I often leave out the nuts or use hazelnuts instead.

Bake at 350F for 1 hour.

Sometimes I also add a generous sprinkling of cinnamon to the mixture, but it doesn't really need it. This time I did!

Saturday, September 03, 2011

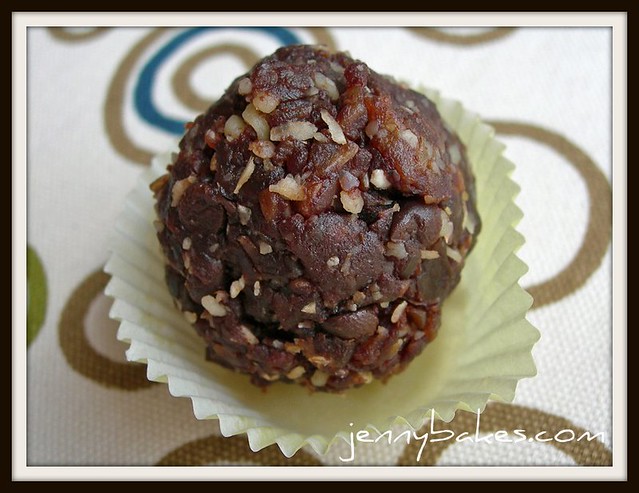
Double Chocolate Oatmeal Balls

Double Chocolate Oatmeal Balls
One day, when I was learning to temper chocolate, I started to do a Google search for items covered in chocolate. Google thinks it knows what you wanted, and started to suggest "Chocolate Covered Katie?" Hoping it wasn't porn, I clicked on the link, and discovered her healthy dessert blog. I scanned through the entries with sheer and utter skepticism, but the comments were consistently positive.

The recipe I kept looking at was for fudge babies (please click on her link for that recipe as well as her own variations), which she described as a homemade Larabar. I was looking for new things to eat for snack or breakfast that I could make ahead of time and wouldn't be bad for me, so I thought it couldn't hurt to give them a try.

I used walnuts, dates, a little handful of oats, a little vanilla, a pinch of salt, cocoa powder, and ended up adding a little agave since I was using drier dates than the brand she recommended. Then I formed the mixture into balls and stuck them in the fridge. I was surprised too. They don't taste overtly fruity like so many vegan things do, the lack of flour isn't a problem because you can taste the nuts in a good way. My addition of oats made every bite remind me of the double chocolate oatmeal cookies my Mom used to make, only these are much better for you, not to mention that I can only eat one at a time.

Gluten-free, vegan, and these could also easily be made raw with the omission (or different choosing) of 1-2 ingredients. But I just call them tasty.

Saturday, August 27, 2011

Daring Bakers August 2011 - Dark Chocolate Truffles filled with Chili-Chocolate Ganache

Dark chocolate truffles with spices
The August 2011 Daring Bakers’ Challenge was hosted by Lisa of Parsley, Sage, Desserts and Line Drive and Mandy of What the Fruitcake?!. These two sugar mavens challenged us to make sinfully delicious candies! This was a special challenge for the Daring Bakers because the good folks at http://www.chocoley.com offered an amazing prize for the winner of the most creative and delicious candy!

I was most excited because the challenge involved tempering chocolate, something I had never done by hand before. During my brief stint working at DeBrand Fine Chocolates in Indianapolis in 2001, we would make some garnishes out of tempered chocolate, but had fancy tempering machines that we just had to turn on. I went with the double boiler method, and after my candy thermometer decided my bowl shape/size wasn't conducive to candy making in the batch of sponge candy I torched (NOT PICTURED, haha, it was terrible), I decided to try to do it by feel. I know, this might sound crazy. Tempering chocolate is Very Serious Business. But I thought maybe it is more like baking bread, where the measurements are precise except for when they aren't, and it is more important to develop a feel for how the dough should feel, and make slight adjustments.

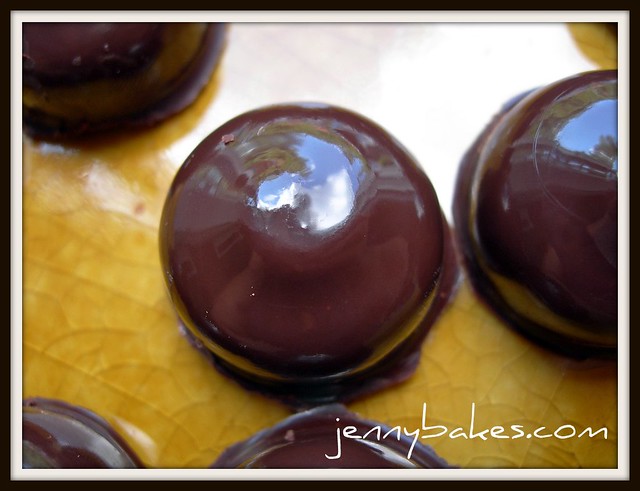
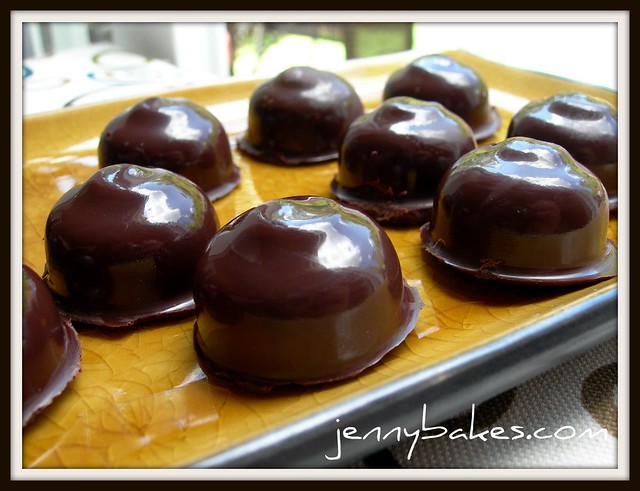
So shiny you can see me in them
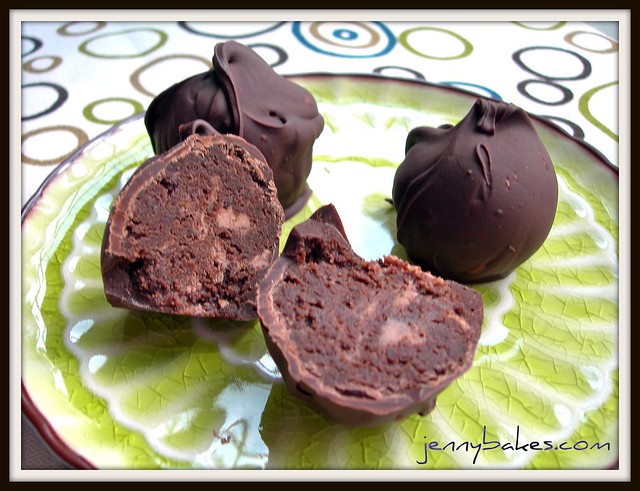
My bonbons or truffles (I think I'll call them truffles since they are chocolate inside chocolate) ended up with that perfect shiny snap, so I feel like I am not completely wrong in thinking you might be able to temper chocolate by sense. I heated up about 2/3 of the chocolate until it was melted, smooth, and had started to heat up (definitely not even close to boiling). I removed it from the heat and stirred chocolate drops in until they stopped melting easily, then put it back on the heat for a minute or so until it got glossy again. I had a plastic mold, and through trial and error discovered that the easiest way not to make a mess of things was to drop some of the chocolate into each divet, swirl it around with a brush until it had coated the sides, and then chill it. The first batch, I tried doing it where you ladle chocolate over the whole mold and pour the extra back into the pot, and all I really made was a huge mess!

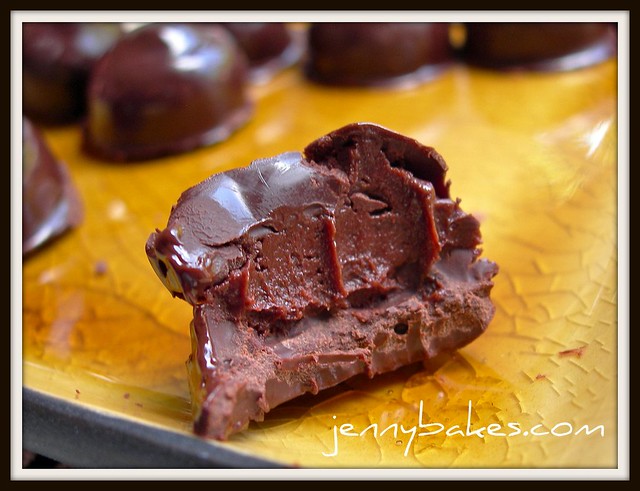
Inside of the truffle
For the insides, I made two kinds of ganache. One was a dark chocolate mixed with ancho chili powder, a sprinkle of cayenne, and a sprinkle of cinnamon. The other was a milk chocolate ganache with a little Irish cream. The milk chocolate took a lot longer to get to the appropriate consistency, so we ate most of it as a snack later that week.


The truffles were tasty. Shiny and a good snap as you bit in, very soft and smooth in the middle, with a little bite due to the spices. Now that I have more of a hang of it, I think it would be simple to do again.... simple but not cheap. Making chocolates is an expensive venture! I think I may use this method the next time I make such things as peanut butter balls, just to have a better finish on the outside. I usually just melt down bags of chocolate chips, but using a tempered chocolate will really class things up a bit. Next time I will also plan ahead better and order bulk couverture chocolate online. I couldn't find any in local stores, and did buy some off of a chocolate shop in Asheville, but I couldn't rely on them as a source (it isn't like they have that chocolate on their menu or anything!).

Friday, August 12, 2011

David Lebovitz's Gluten-Free Brownies

David Lebovitz's Gluten Free Brownies
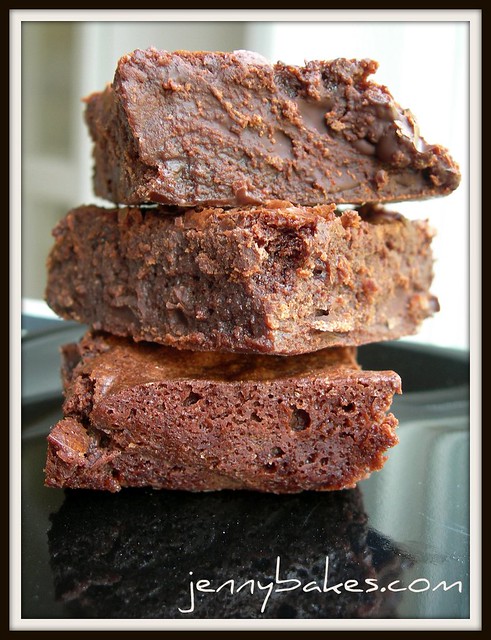
Yesterday I was reading through the blogs in my foodie folder in Google Reader, and as soon as I saw David Lebovitz's recipe for Gluten-Free Brownies, I knew I had to make it. I had made the original recipe from Ready for Dessert, and liked what he said he did in replacing the flour. It involves cornstarch, and several of the comments to his post asked about replacing that. Apparently you can replace it directly with potato starch if necessary. I used cornstarch.
My picture doesn't look as dark or fudgey as his in the original recipe post, but I blame the bright noon sunlight. These might compete in my brownie files as our favorite brownie recipe. The best thing I can say about them is that you have NO IDEA they are gluten-free. No weird taste. No weird texture. It is a brownie through and through, down to the crackly tops that you need! It was the perfect recipe to use the rest of the chocolate I got from Mast Brothers, plus some chocolate chips. Instead of nuts, I stirred in additional chocolate chips, which I'm not sure I can recommend if you intend to eat an entire piece! Completely over the top.

Saturday, August 06, 2011

Green Tomato Bundt Cake

Slice of Green Tomato Bundt Cake
Every once in a while I will make something that I'm not sure I'll like, and still can't decide after it is over if it was "good." This Green Tomato Bundct Cake, from Paula Deen on the Food Network, is one of those cakes. A friend of mine made this recipe a bunch last summer and swore by it (although she recommended skipping the glaze). I loved the concept; it seemed so southern to use green tomatoes in a cake! I kept thinking of it in the off-season but finally remembered to pull it out once I started seeing green tomatoes at the farmers markets again.

A lot of reviews claimed that nobody could tell these were green tomatoes! That it was so amazing and delicious and mysterious! My problem was that they were too obviously green tomatoes. They were so firm, even in a small dice, they hadn't developed enough sugar to absorb into the cake, and their tartness really stood out. The cake itself was delicious, the spices and nuts (and currants that I used) were heartwarming and would be perfect for fall.. without the green tomatoes.

It seems I have a verdict after all!

Saturday, July 30, 2011

Breakfast in Sicily

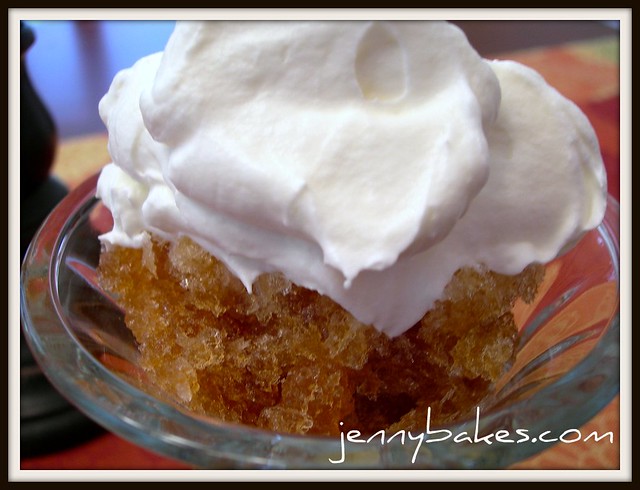
Coffee Granita with Whipped Cream
Ever since I read Sweet Honey, Bitter Lemons: Travels in Sicily on a Vespa by Matthew Fort, my imagination has been running wild. Breakfast of fresh, warm brioche buns, torn apart and dipped into chilly coffee granita, topped with lightly sweetened whipped cream?
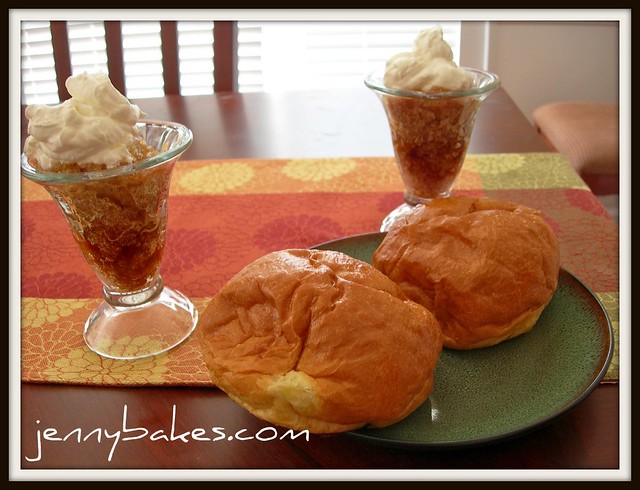
In fact, this so captured me that for a while I was thinking about starting a new international breakfast blog, featuring the amazing meals you can only find other places. It turns out that several people are doing that already, so I will leave them to it, as long as they leave the Sicilian breakfast of champions to me.

Sicilian Breakfast
The coffee granita recipe I used came from the aforementioned travel book, but any recipe that makes granita the slow way would do. The slow way being pouring liquid into a shallow container and scraping it with a fork every fifteen minutes until you have ice crystals that are almost in a mush texture, finely separated and not liquid at all, but delicate. This is what separates Sicilian granita from other mass-produced flavored-shaved ice varieties. Also from what I've read, you can find many varieties of granita at breakfast in Sicily - fruit flavors for instance - but I can't imagine anything better on a sunny morning than coffee granita!

Friday, July 29, 2011

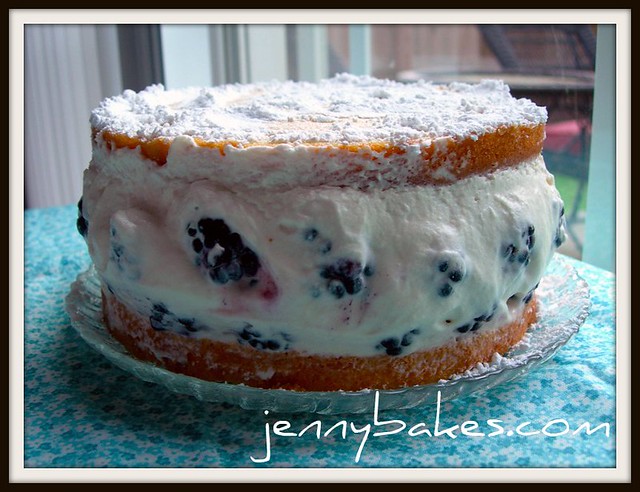
Daring Bakers July 2011 - Fresh Fraisiers (Mûrier?)

Daring Bakers July 2011 - Fraisier
Jana of Cherry Tea Cakes was our July Daring Bakers’ host and she challenges us to make Fresh Frasiers inspired by recipes written by Elisabeth M. Prueitt and Chad Robertson in the beautiful cookbook Tartine.

Fraisiers are named after strawberries, and if a blackberry is la mûre in French, it is possible that I've actually made a mûrier here, but I can't be certain.

One of my co-workers and fellow foodies brought me some lavender from some organic fields in Utah, the kind intended for baking and cooking with. I adapted the recipe to infuse lavender into the pastry cream, and it was quite fragrant. My final product is a bit messy, but only because a fraisier depends on gelatin for that firmness and I keep trying to use agar agar in place of it. The last time I used it I let it set up too much, resulting in a slightly clumpy end product, and this time I think I erred on the opposite side, and my cream didn't entirely ever set up.

I made the coconut version of the cake, a lavender cream, and fresh blackberries. That combination also makes up a perfume combination I wear a lot in the summer, so it was a bit surreal creating a dessert with the same flavor/scent combination.

At the end of the day, this was absolutely delicious. I am not a person who is bothered by the flavor/smell of flowers in my food - I have embraced rose in baked goods and candy for years. I'm not sure it would be for everyone!! But it seemed perfect for summer.

Tuesday, July 26, 2011

Happy Blogiversary to Me!

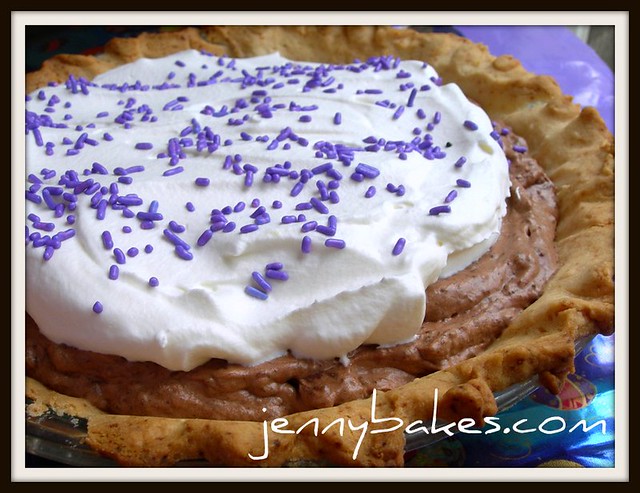
Chocolate Cream Pie
Well, I can't really believe it, but this is the 5th anniversary of JennyBakes!

I'm on a brief break from work, with some vacation days to burn through before August 1 when it all rolls over, and today had a lazy day full of finishing season 4 of Brothers & Sister on Netflix and baking a pie. Now, most of the time, when celebrating such an event as a blogiversary, I of course would make something that I could serve to a lot of people. But I'm not going to be around a lot of people until next week, and ever since seeing this recipe for French silk chocolate pie on Serious Eats, I just haven't been able to get it out of my head. So today was the day, add sprinkles, and celebrate.

Tuesday, July 19, 2011

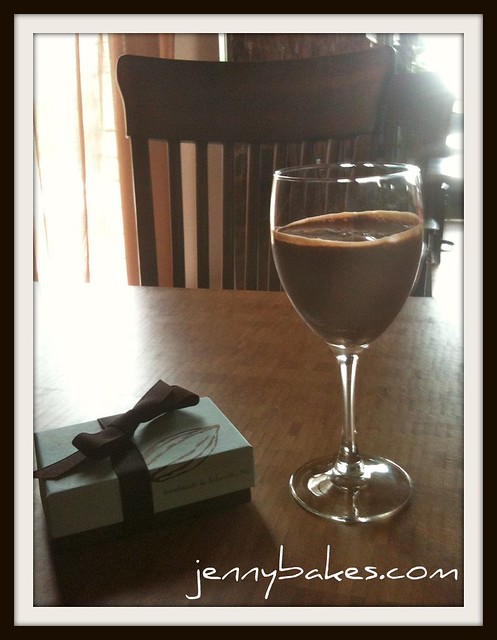
French Broad Chocolates - Asheville, NC

Cold sipping chocolate
Imagine a serene chocolate lounge where you can sip chocolate drinks (or beer and wine, if you'd prefer), consume chocolate desserts, and munch on handcrafted chocolates. Imagine it has generous seating, vegan options, and is open as late (or later) than your favorite coffee shop.

It exists! I've been! The French Broad Chocolate Lounge in Asheville, NC, is it. Their extensive menu is amazing if not a bit overwhelming, since everything is chocolate. I was there on a very hot day and had the cold sipping chocolate, which blended dark chocolate, coconut milk, and an infusion of my choosing - I went with the chai one, and it was delicious.

In addition to their own chocolate creations, French Broad Chocolates sells artisan chocolates from a handful of small-batch producers. It is a place to go to more than once, in order to sample a wide variety of chocolatey treats.