Sunday, July 13, 2014

Brownie Baked Alaska

For our 14th anniversary, I wanted something fancy that didn't take very much time.  I made brownie baked Alaska and it was delicious.

It's more of a concept than a recipe, although I consulted a bunch of recipes in putting it together.

In the end, this is mostly storebought stuff, ha!  I think the best brownies are the Ghiradelli double chocolate, but you could use any brownie.  I cut the 9x9 pan into four squares, and then used biscuit cutters roughly the same width.  I split those in half to have thin layers.  I built the layers in a similarly sized ramekin to add structure to the sides while preparing, but you could use rings, cans, anything.  I bought two kinds of icecream and used one on each, since there were three layers of half brownies.

The cylinders of brownies and icecream were wrapped tightly in plastic wrap and frozen four hours. When we got home from dinner, I whipped up a meringue and spread it generously around the cylinders (without the plastic wrap), making sure no ice cream was showing.  I baked them at 500 F for about 4 minutes, but should have gone for 5 and browned it a bit more.  If you do it right, the ice cream shouldn't melt. 

Highly recommended, fancy preparation of what is really simple ingredients inside.

Oh heck, might as well count this for my Around the USA challenge although I have yet to read a book set in Alaska. :)

Sunday, June 29, 2014

Pönnukökur: Icelandic Pancakes

I was up early this morning with the dog and read about how another member of my World's Literature group had made some Icelandic dishes.  I haven't done much of that this year, so I started poking around the internet.  When I stumbled across pönnukökur, I decided to make a quarter recipe to try it out.  Icelandic pancakes are similar to crepes, with a slightly spongier texture due to the addition of both baking soda and baking powder.  Traditionally they are not served in the mornings, but for afternoon tea or dessert.  I broke tradition for time of day but did prepare them the two traditional ways - rolled up with sugar sprinkled on one side, or folded in quarters with jam and whipped cream.


I learned how to make them from Grandma Margrét as shown in this video, although I had to make do with a normal saute pan.  This pan is cool and I'm going to try to find one - heavy base, completely flat surface - perfect for making pönnukökur.  While pönnukökur is not as tell-your-friends amazing as pannukakku, I think I need to make every pancake from every cold northern country. Don't you?
(Recipe below.)


How to Make Icelandic Pönnukökur from Iceland on Vimeo.

Icelandic pönnukökur

2 cups flour (scant)
1 tsp baking soda
1 tsp baking powder
1/4 tsp salt
4 eggs
2-3 cups milk, as needed for consistency
4 tbsp butter

Mix dry ingredients, beat in eggs and milk.  You want enough milk to make a rather thin, soupy batter.  Melt butter in pan on medium-high heat and pour it into the batter before it browns!  Cook like crepes, and if you can find a special pönnukökur pan, all the better.

Serve by sprinkling one side with granulated sugar and rolling up, or spread jam thinly, globbing on whipped cream on one quarter, and folding pönnukökur around it.   

I divided this recipe by 4 and that made 4 smaller pönnukökur.  

Sunday, June 08, 2014

Eating Asheville High Roller Tour

This may come across as a paid advertisement post but isn't!  We went on the "high roller" tour from Eating Asheville on Saturday and had a great time.  We go up to Asheville a lot but don't always try new restaurants because we have some favorite places.  The tour took us inside six restaurants, none of which we had eaten at before.  They were very accommodating for dietary needs - we asked for no meat, another woman asked for no alcohol (although I'm pretty sure that's the higher cost for the 'high roller'), and one person didn't want shellfish.  Letting them know in advance allows them to fully prepare for these specific situations.

The first stop was Battery Park Book Exchange and Wine Bar.  I had been here before, but only to look at books, not to eat.  We were served a rosé wine and mini toasts with goat pimento cheese from Sunburst Trout Farms (no trout included) and spinach hummus from the wine bar.  The others had smoked trout paste instead of hummus, which is on the menus of several Asheville restaurants. 


The second stop was Cucina 24, a restaurant I must have walked past on many occasions and never really noticed.  This was my favorite stop on the tour. It made me feel nostalgic for the restaurant I worked at years ago, with a similar sized kitchen and crew (and even more creative food!).  The menu changes daily.  Vegetarians got farmer cheese topped with service berries, lemon olive oil, saba, basil, and a little flatbread.  We had short glasses of Montepulciano d'Abruzzo alongside.


Third on our tour was Zambra Tapas, Asheville's "original" tapas place.  We have eaten at Cúrate on multiple occasions but hadn't tried this one.  Funny because it's on the way to Malaprop's, one of my favorite bookstores.

The veggies got grilled tofu with preserved lemon, harissa, and hummus (SO good and from the current menu), and everyone got spiced sangria.  This place was a close second and we'll be back for sure.

 I loved the kitchen and decor for Zambra.  The kitchen is bulb shaped, wider where all the food gets its final preparation and to allow for a pizza/flatbread oven (I think?).  They would not stand still for their picture! There is a lot of space inside and I bet it gets very busy and loud on a good night.


Up fourth was another restaurant I hadn't noticed - Strada Italiano.  They have a full-throttle bake house in their basement that makes all their bread and desserts, and bread for other restaurants in town.  Since we were there post-brunch, it seemed like they decided to serve us food that used up leftovers - french toast out of chocolate cherry bread with basil and berry coulis.  It was fine, but didn't seem to really represent their cuisine and I still have no idea what eating there is like!  They do a cool family supper on Sundays where everything is served family style, meant for people on a budget.  They served us what they call "marinara wine" but I don't think I wrote it down right - cabriaggiano is what my note says but it doesn't seem to exist.


The last time I went to a concert in Asheville, it was at the legendary Orange Peel.  Right up the road is Chestnut Restaurant, known for it's craft food and craft cocktails (we were to hear the phrase "craft cocktail" many times on the tour, as it's the newest trendy trend.)  We had an energetic speech by the executive chef who was as excited about the food as the space, which they've only been in for 18 months.  He also owns The Corner Kitchen in Biltmore Village, another place I don't remember seeing but probably should try.  After all, the Obamas ate there!

I love this black and white version of the photo because you can see the 19 people on the food tour, the tour guide Stewart on the end with his NY Yankees hat, and the beautiful beautiful window along the back of the dining hall.  The chef said they do 500 people on a normal busy day, which must be a feat of organization indeed.

We were served a golden and red beet salad with orange reduction, pistachios, and a very thin crostini.  It had a dab of goat cheese in there too.  I love goat cheese with beets but it is something I've had often at various restaurants.  I'd like to take them up on their challenge to make anything with what they have on hand!  Meat eaters got a smoked brisket hash with hollandaise, clearly a remnant of the Saturday brunch.  Oh well, I'm glad they're not wasting food, and everyone completely cleaned their plates.  I'd go back here for lunch, on a day where I could also get one of their marvelous sounding craft cocktails.  But I'd rather come when it was not as busy as it gets at night, personally.  I just don't like crowded noisy places, and I think Chestnut must really get there.  It's to their credit. A noisy restaurant is likely a successful restaurant.  But I want my rhubarb cocktail.

After Chestnut we went to Chocolate Gems, a chocolate shop I had not yet graced with my presence.  I say that somewhat sarcastically because I love the chocolate shops of Western North Carolina, from Black Mountain Chocolate to French Broad Chocolate Lounge to The Chocolate Fetish.  There's also a random place I've encountered in the mountains around a bend but it might have been a mirage.  We were served baby scoops of blueberry lavender sorbetto and vanilla bean gelato, and sent on our way with a pink peppercorn truffle to enjoy at the end of the meal.  I loved the sorbetto, but thought the gelato tasted too much of vanilla alcohol, probably extract.  I really loved the owners/chocolatiers.  Every time he asked if we had questions, I only wanted mine to be, "Please may I work here?" I restrained.  I also came back and bought a cardamom ganache chocolate, which had cardamom infused into the truffley chocolate as well as a cardamom brittle broken up on the inside.  SO good.  Not enough people work with cardamom.  I would have liked to get more of a sampler but we had more walking in the hot sun to do, and I didn't suspect the chocolate would hold up.


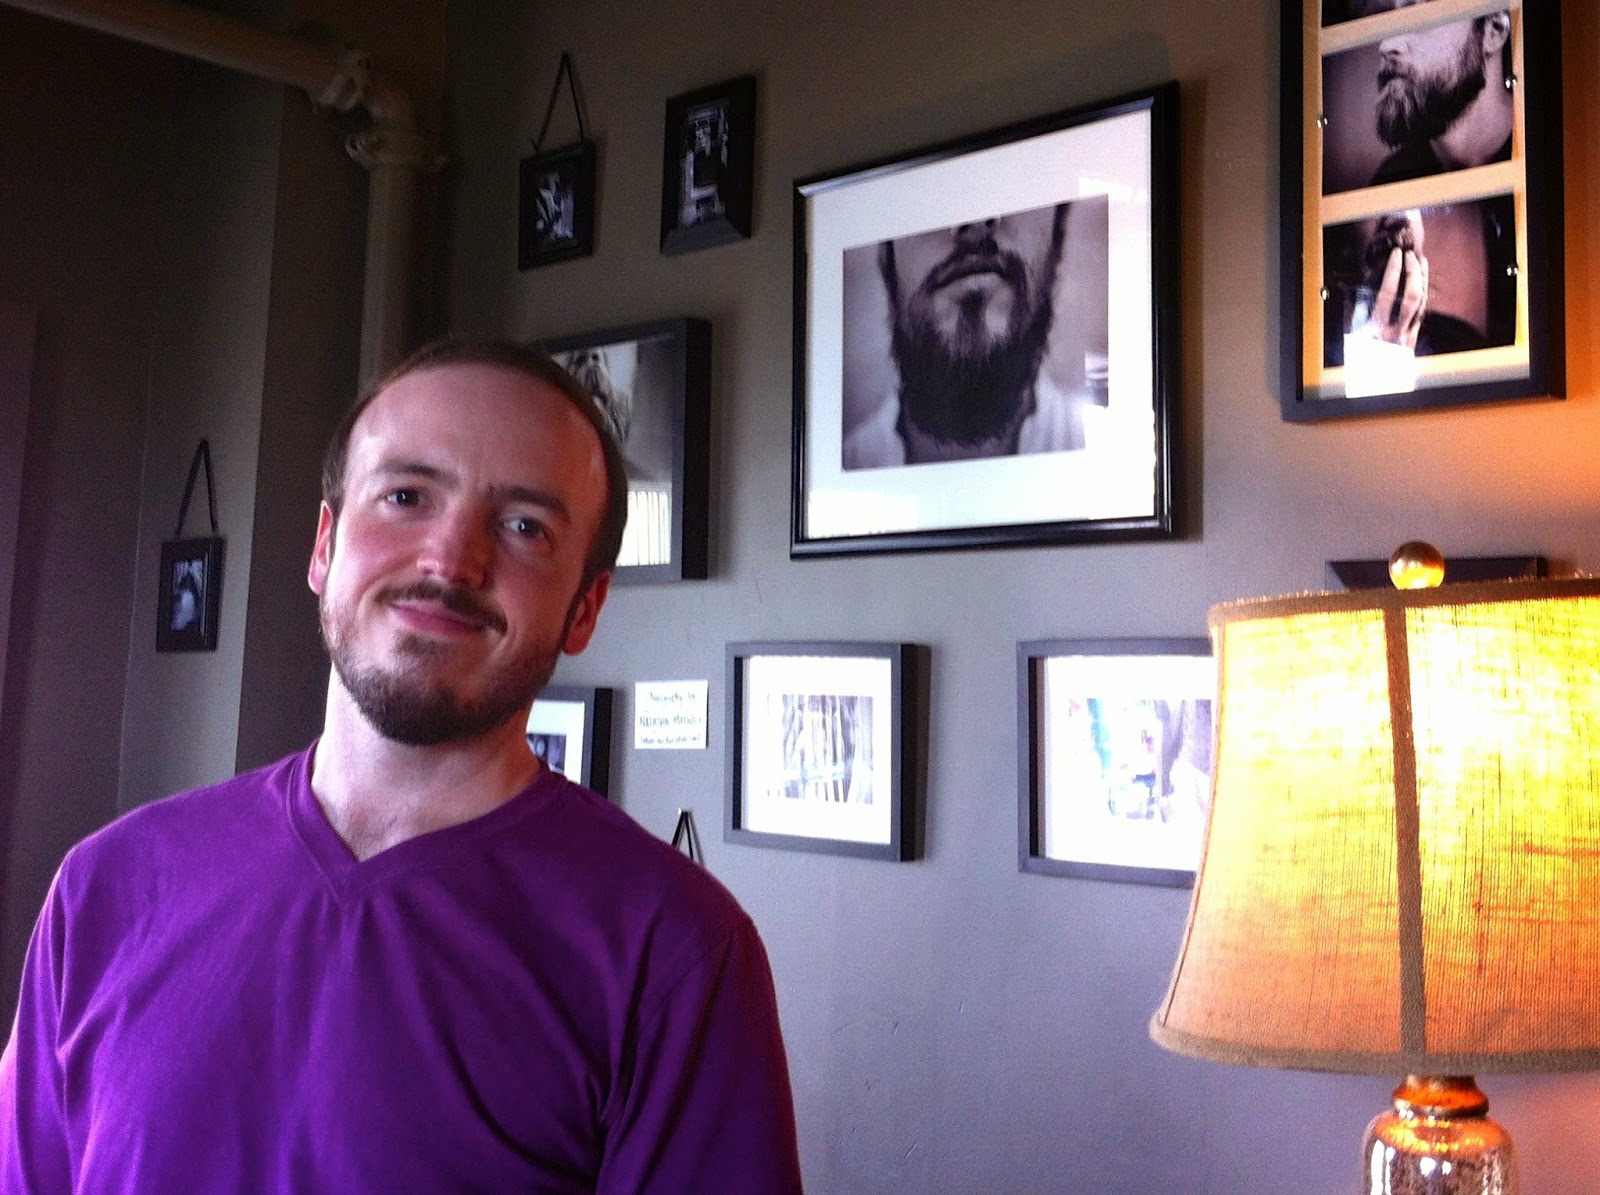
We went back to Strada and headed to their rooftop social lounge to end the day. We had samplers of their Mediterranean plate and a craft cocktail that was like a hybrid of a Manhattan and sangria. What a great time!  And even though we were tired, I made Nathaniel pose in the beard corner.


They don't go to the same restaurants every time, so it would be fun to do this in a different season and see where we ended up.  I love Asheville.  It's a great food town with a very walkable downtown, and I'm happy to live just an hour from there.

More fun with rhubarb jam

One of the downsides to making a batch of jam without canning it is needing to use it faster than one person can consume it!  There is a recipe I've been making since I found it in Vegetarian Times in 2008 - [Insert fruit name] Oatmeal Bars.  It's an easy bar cookie that has the additional merit of using up a cup of jam, preserves, marmalade, you name it!

Since I had about two cups of rhubarb-vanilla-earl grey jam, I doubled the recipe and brought it in to work!  Here's what they looked like:


The worst part about using up homemade jam is that you don't have any more.  Who knows what interesting concoction I'll make next!

By the way, I posted this to Instagram almost two weeks ago.  If you want to see my food pictures earlier, including places I go to eat, you can follow me there - sh1mm3r.  I also post a lot of book and beagle pictures.  That's my life!

Sunday, May 25, 2014

Food in Jars and Vanilla-Rhubarb Jam

I received a copy of this a year or two ago in exchange for an honest review. I'm sorry it has taken so long, but I've thumbed through it with longing on multiple occasions. I declared 2014 to be the year of food in jars!

Food in Jars: Preserving in Small Batches Year-RoundFood in Jars: Preserving in Small Batches Year-Round by Marisa McClellan
My rating: 5 of 5 stars

If Marisa McClellan wanted to consider another profession, I think she would take easily to perfumer. Her flavor combination ideas just in this book alone make me want to try every recipe and stock my pantry with little batches of goodness.

The recipes catching my eye the first time through:
-Vanilla-Rhubarb Jam with Earl Grey
-Chunky Fig Jam
-Apple Pumpkin Butter
-Orange Vanilla Curd

You get the idea. I've had some of these recipes marked for a year and finally had a chance to make the Vanilla-Rhubarb Jam, and instead of Earl Grey I used my Reading Envy tea which is part Earl Grey, part coconut. This is a lovely light but intricately flavored jam! I've been putting it on toast this week but will bring it to work in the form of oatmeal jam bars.


The recipes in this book include directions for small batch canning, but the recipes aren't in great quantities, so it is just as easy to consume what is made. The idea behind small-batch preserving is to eat some, save some. Many of the recipes could also be frozen. If canning intimidates you, you could either simply not do those steps or allow McClellan to instruct you in your first attempts.

She also has a fabulous blog, Food in Jars, with additional instructions (I went to it to find out how to substitute powdered pectin for liquid in the recipe I was trying, to great success.)

Just a personal note: Marisa McClellan is the sister of Raina Rose, a singer-songwriter from Portland who I first encountered on the streets of Memphis (during an art walk) and lives in Texas. It's a small world out there in internet land, and I had followed both before knowing they were connected.

Monday, May 12, 2014

Low-Carb Biscuits (also gluten free)

This is just a non-sweet version of the shortcakes I posted yesterday, since they were a great success.  They don't exactly taste like biscuits but still pretty close, more biscuit-like than English muffin-like. 

These are flatter; I used the same recipe and baked it in four 6-oz ramekins with vertical sides.  It was pretty hard to get them out without breaking; perhaps next time I'll just draw some circles on some parchment paper and do it that way.  And there will be a next time.  The insides of breakfast sandwiches are already so easily low-carb, we were only missing the outsides!

Low Carb Biscuits

3 tbsp butter, melted
3 eggs
1/4 tsp salt
1/4 tsp vanilla
1/4 cup sifted coconut flour
1/4 tsp baking powder

Combine dry ingredients, and mix in the wet ingredients.  Scrape batter into greased muffin cups, ramekins, or spread in small circles on parchment paper. Bake at 375 for 15 minutes. Makes 4-6 biscuits depending on your container and size.  Gently split in half to use for a breakfast sandwich.

Sunday, May 11, 2014

Low-carb Shortcake (also gluten-free)


Strawberry season is almost a month late in South Carolina, but as soon as Swamp Rabbit Cafe started selling strawberries from Beechwood Farms, we were there buying a gallon. 

People who are diabetic may not indulge in the number of strawberries that we do in the Colvin household, but the shortcakes themselves are indeed low-carb, so your mileage may vary.  I adapted a recipe I found online, so I guess at this point it's all mine.  I made them in silicon muffin tins because the batter wasn't stiff enough to roll out, but I think next time I'll just make drop biscuit versions to allow them to be a little larger (this picture has three!)

Low-Carb Shortcakes

3 tbsp butter, melted
3 eggs
3 tbsp brown-sugar Splenda
1/4 tsp salt
1/4 tsp vanilla
1/4 cup sifted coconut flour
1/4 tsp baking powder

Combine coconut flour with baking powder, salt, and Splenda. Make a well, and pour in melted butter, eggs, and vanilla. Pour batter into greased muffin cups. Bake at 375 for 15 minutes. Makes 6 cakes.

Saturday, May 10, 2014

Low-Carb Cinnamon Streusel Muffins

Nathaniel brought home Bob's Red Mill Low-Carb Baking Mix, so I made one of the recipes off the back to give it a try.  It wasn't free, so this isn't a plug or a review.

I couldn't bear to have "just muffins," without a flavor other than "muffin."  So I added cinnamon to the dry ingredients and made a low-carb streusel with brown sugar Splenda and cinnamon for the tops.  These were decent as low-carb baked goods go, I just wish I had a better sense of what else I can do with the mix.  I'm not sure exactly what it can substitute for.  The texture of these muffins weren't any better/worse than some of the paleo banana bread I have made in the last year.  Which means you can use the mix instead of starting from scratch, but I'm not sure it is as cost effective.

Friday, May 09, 2014

Paleo Mock Cornbread


For the second day of ramp experimentation, I sauteed the last bunch (stems and leaves), then added to scrambled eggs and goat cheese.  Since this was dinner, I decided to try the mock cornbread recipe from The Paleo Chocolate Lovers Cookbook.  The recipe is all almond and coconut with a few other ingredients.  It was pretty decent for two people who just don't eat most breads anymore.  It was a nice addition to a very springy meal, despite the rain outside.

I got this cookbook as a gift, so there is no disclaimer needed, except to say this is where you go for the recipe.  I need to experiment a lot more with this one!

And of course somehow I made the only non-chocolate recipe in the entire thing.  The author claims you can make french toast out of this cornbread but I'm a skeptic.  Maybe I'll try it next time!

Thursday, May 08, 2014

Ramp Gnudi

For several years now, I have been on the hunt for ramps.  Foodies and bloggers would rave about them and I would hear how they sold out from the farmer's market by the time I arrived, or they'd be available at my local market for such a short time that I'd either miss it or the selection remaining would be too wilted for any good.

THIS YEAR I KNEW I WOULD FIND THEM.

And I did!  A local market that I seem to spend a lot of time at lately, the Swamp Rabbit Cafe & Grocery, posted a picture of ramps right around closing last Saturday, so you'd better believe I was at their front door at 9 AM on Sunday!  Nobody else was pounding down the door to get to the ramps, but better safe than sorry.  I picked up three bunches to experiment with - two to make ramp gnudi and one to use with eggs. 


What are ramps?  Ramps are a variety of an onionlike vegetable that grows in the wild.  This requires it to be foraged and resold for them to end up in my hands.  You can eat the leaves, the stems, and the bulbs, but the picture you are seeing above is after extreme cleaning.  The bunches I picked up were caked in mud and the bulbs were covered with a protective skin.

I had been coveting the Ramp n' Ricotta Gnudi I had seen at the Hungry Tigress blog, so that is the first place I turned when the ramps were burning a hole in my ... fridge.  She instructs you to add the greens to the gnudi mixture, but cooked first.  I have a feeling her homemade ricotta had less moisture than what I bought (although I did strain mine), because to get mine to stay together in the boiling water, I had to add parmesan cheese and a bit more flour (I was trying to keep them as low-carb as possible.)


The recipe instructs you to save the stems and bulbs for another purpose, but I couldn't fathom not making this dish as rampy as possible.  So I sauteed them in some olive oil, and served the ramp n' ricotta gnudi with the ramp stems/bulbs, also drizzled with local truffle olive oil.  The flavors of spring!

It tasted pretty good, but I have a weird texture issue with anything dumpling like.  I probably wouldn't make them again but my husband liked them!  Still, I'm just happy to finally get a chance to experiment with ramps!

Wednesday, May 07, 2014

Gluten-free Brazilian Cheese Puffs

In my gluten-free baking experiments, I admit that my brain can more easily wrap around the lesser complicated recipes!  Especially during the week, I just don't to try that hard.

I was intrigued by the Brazilian Cheese Puffs recipe.  I keep seeing a similar baked good at a local cafe, but had not tried one.  I was also curious what a recipe that relied on tapioca flour would taste like!

You can see how chewy these are by the inside structure.  That's the tapioca, which is similar to or exactly like yuca or cassava. 

 
They were chewy and I mean chewy.  Chewy chewy.  Not so much a bread as ... hmm, what is a good example of something chewy?  I found it a bit disconcerting to eat them on their own.  Also they heat up in 3-4 seconds in the microwave; any more time than that and they were red-hot.


I had some vegetarian sausages in the fridge, and cooked one.  The best thing I did was wrap some of these cheese biscuits around sections of the sausage, a great flavor and texture combination.  I packaged up the rest and brought them to my GF friend, but never heard anything (I think she would probably say, if I asked, that this was not the most successful gluten-free recipe.)

This is another recipe from Gluten-Free Bread, which I got from the publisher in exchange for an honest review. It's taking me a while to work my way through it so it will make a frequent appearance for a while!

But, you know, full disclosure.

Tuesday, May 06, 2014

Gluten Free Chapatis

I was sent a copy of this cookbook by the publisher in exchange for an honest review.  It has taken me forever to post anything about it because of the difficulty of gathering ingredients.  That isn't the publisher or the author's fault, just a truth about gluten-free baking.

I will post several recipes linked to this book, because it has a wide scope of quick loaves, yeast loaves, and unique breadlike creatures.

The introduction section is very useful and explains the function of each of the ingredients, which are legion in most of the recipes.

One of the simplest recipes is what I tried first - chapatis.  I started there because I already had chickpea flour in my pantry, probably from making socca or fritters.


Chapatis, an Indian flatbread, tend to be made with wheat or whole wheat flour, which of course relies on gluten to hold together.  Making them just from chickpea (aka garbanzo bean) flour was a greater challenge, and I had to really use a light touch with extra flour on my hands to flatten them and prepare them for pan frying.

The flavor of chickpea flour would make these a nice accompaniment to Indian food as it is traditionally enjoyed, but also Mediterranean or Caribbean - really anything with interesting spices!  This was a recipe that also just happens to be lower-carb, so I will probably make this again.

Monday, May 05, 2014

Low-Carb, Gluten-Free, Paleo Baking Experiments

It is my non-professional opinion that anyone who doesn't need to eat low-carb, low-sugar, gluten-free, or paleo would never do it because the ingredients are so expensive, difficult to track down, and you need so many of them!

Here is the result of three different trips to four different stores, and I was still missing coconut sugar....


I don't need to eat gluten-free, knock on wood and thank goodness.  But I have friends who do, so I jumped at the opportunity to review this Gluten-Free Bread cookbook.  This explains the potato starch, tapioca flour, almond meal, sorghum flour, flaxseed, xantham gum, arrow root, chickpea flour, chia seeds, and rice flour.  Phew.  See, you need a combination of things to make up for what wheat flour does on its own.  I had grand plans to bake a bunch from the book at once and bring to my GF friend when she had surgery, but it took so long to find all the ingredients I've only managed a few experiments so far.  I'll post about them in the next few days, and continue doing so as I try things out.

The Paleo Chocolate Lover's Cookbook was a Christmas gift but I didn't really crack into it until lately.  It's another example of obscure ingredients, although there are fewer, and they tend to repeat throughout the cookbook.  Paleo is closer to how we eat at my house because paleo uses nut flours and coconut flour and coconut milk, without the higher-carb wheat replacements that often make up gluten-free baking.  Paleo tends to be gluten-free, but is more limited.  Or limited differently.  I still have to find different sweetening options because honey and maple syrup, the two most frequent paleo sweeteners, are too high in sugar.  Some call for coconut sugar, which I've heard is lower carb.  If only I could find it....

Stay tuned for experiments! 

Sunday, May 04, 2014

Crack Pie from Momofuku


This won't be the first time I've made something from Momofuku Milk Bar in this blog. Last June, I made their recipe for Cornflake-Chocolate Chip-Marshmallow Cookies.  Since then we have splurged and ordered their compost cookies from Goldbely.

I didn't set out to make another one of their recipes!  But I had been making a lot of recipes that called for egg whites and was determined to not just toss out my egg yolks after they were forgotten in the fridge.  I found an amazing list of what to do with egg yolks, sorted by the number of egg yolks you had.  I've always heard about Crack Pie, and I had the other ingredients on hand, so it was an easy solution. 

There are a handful of slightly varying recipes for the Momofuku Crack Pie around the internet.  I used the recipe as printed in the LA Times, which made two pies and used eight egg yolks.  I knew I could bring them to work and they would be eaten.

What exactly is crack pie, since that only describes how addictive it is?  If you imagine a pecan pie filling with no nuts, but then tempered with milk and a cookie crust, that is what a crack pie is.  It is one of their standard offerings.  It isn't pretty to look at but if you know what you are in store for, it doesn't matter.

Since the internet has everything, you can watch the pastry chef herself make this recipe.

Saturday, May 03, 2014

How to Say Goodbye

We had a goodbye party for a co-worker, and I made cakes!

I didn't want to bring something I'd already made, so I scanned the cake recipes I'd pinned to my Recipes to Try - JennyBakes board and picked two.

One was this luscious and easy peanut butter cake from The Girl Who Ate Everything.  You can ignore the part about using it to get pregnant.  The sheet cake bakes in 15 minutes and the icing cooks quickly.  I'm not sure I've made anything easier and it was really delicious.  Filing this one away for the future!  If you make it, you might want to make sure people know it is peanut butter and not caramel cake - it sure looks like a caramel cake.  It messed with taste bud expectations a bit for my very southern co-workers!


The other cake took far more effort.  I based it on the Red Velvet & Raspberry Supreme Cake from Sweetapolita, but I used strawberries instead of raspberries, and didn't have enough to put on top.

From the outside, this cake looks like it might be simple.

Inside, the red velvet cake layers alternate with two different fillings - one is a pink whipped cream that has berries folded into it, and the other is a marshmallow cream cheese filling.  It was a lot of work and I think the two different fillings weren't different enough to have made the effort worth it; but both of them were good.  I think I'd prefer the marshmallow cream cheese with a peanut butter cake, or a rich chocolate cake. 


I was tempted to leave the chocolate frosting off and just let the layers speak for themselves, but I think that was one of the best parts of the cake.  I apologize for my messy decorating - I had spent four hours making the two cakes and was exhausted so I just called it good! 

Monday, March 24, 2014

Chocolate Party Cake AKA Stress Cake


I needed a cake for a party and hit the internet for inspiration.  I kept seeing accolades for the Double Chocolate Layer Cake from Gourmet Magazine, March 1999, thankfully preserved on the Epicurious recipe website.  This recipe makes a TON.  It calls for two 10x2 round pans, which I do not have in my collection.  The batter filled three 9" round pans plus two 1 cup ramekins.  SO MUCH CAKE.


Since I was bringing a cake to a gathering with only four people, I used exactly half the cake layers in my first rendition of the cake - one whole round split in two horizontally, and half of another.  I wrapped the remaining layer and a half in plastic for later.  I put ganache between the layers and on the outside as directed, but I also layered raspberry jam (slightly heated and stirred) directly onto the cake first.  I chilled the cake overnight, but chilling it changes things.  I think if you can avoid it at all, don't let it anywhere cold, just allow longer for the ganache to set. 

Meanwhile, in another arena of my life, stressful events were occurring.  I recreated the cake, heavier on the jam the second time, and cut it into wedges.  I wrote little notes with each wedge, deeming it Stress Cake.  Does chocolate solve anything?  No, but it can definitely make life a bit easier to handle.

Double Chocolate Layer Cake
 (recipe from Gourmet March 1999, on Epicurious.com)

Ingredients

For cake layers
  • 3 ounces fine-quality semisweet chocolate such as Callebaut 
  • 1 1/2 cups hot brewed coffee
  • 3 cups sugar
  • 2 1/2 cups all-purpose flour
  • 1 1/2 cups unsweetened cocoa powder (not Dutch process)
  • 2 teaspoons baking soda
  • 3/4 teaspoon baking powder
  • 1 1/4 teaspoons salt
  • 3 large eggs
  • 3/4 cup vegetable oil
  • 1 1/2 cups well-shaken buttermilk 
  • 3/4 teaspoon vanilla

 For ganache frosting
  • 1 pound fine-quality semisweet chocolate such as Callebaut
  • 1 cup heavy cream
  • 2 tablespoons sugar
  • 2 tablespoons light corn syrup
  • 1/2 stick (1/4 cup) unsalted butter
Special equipment
  • two 10- by 2-inch round cake pans

Make cake layers:
Preheat oven to 300°F. and grease pans. Line bottoms with rounds of wax paper and grease paper.
Finely chop chocolate and in a bowl combine with hot coffee. Let mixture stand, stirring occasionally, until chocolate is melted and mixture is smooth.
Into a large bowl sift together sugar, flour, cocoa powder, baking soda, baking powder, and salt. In another large bowl with an electric mixer beat eggs until thickened slightly and lemon colored (about 3 minutes with a standing mixer or 5 minutes with a hand-held mixer). Slowly add oil, buttermilk, vanilla, and melted chocolate mixture to eggs, beating until combined well. Add sugar mixture and beat on medium speed until just combined well. Divide batter between pans and bake in middle of oven until a tester inserted in center comes out clean, 1 hour to 1 hour and 10 minutes.
Cool layers completely in pans on racks. Run a thin knife around edges of pans and invert layers onto racks. Carefully remove wax paper and cool layers completely. Cake layers may be made 1 day ahead and kept, wrapped well in plastic wrap, at room temperature.

Make frosting:
Finely chop chocolate. In a 1 1/2- to 2-quart saucepan bring cream, sugar, and corn syrup to a boil over moderately low heat, whisking until sugar is dissolved. Remove pan from heat and add chocolate, whisking until chocolate is melted. Cut butter into pieces and add to frosting, whisking until smooth.
Transfer frosting to a bowl and cool, stirring occasionally, until spreadable (depending on chocolate used, it may be necessary to chill frosting to spreadable consistency).
Spread frosting between cake layers and over top and sides. Cake keeps, covered and chilled, 3 days. Bring cake to room temperature before serving.

Tuesday, March 18, 2014

Paleo Banana Bread Redux

Somehow I am trapped in this cycle of making the same recipes and not having a lot of new things to post about.  When we were trapped at home (in South Carolina) with snow and ice, twice, I made paleo banana bread.  Snow always has meant sweet treats but sweet can be healthier too.

I used the same paleo banana bread recipe from before, once as bread, and once as muffins with various ingredients folded in. 

I actually think the recipe shines best in loaf form, but I have always had to bake it considerably longer than the recipe states.  My bananas might be bigger than your bananas.


With the muffins, I made some with chocolate chips (definitely not paleo), some with blueberries (still paleo) and some with a cinnamon-splenda streusel mixture that I've been making cinnamon toast with a lot lately, like a crazy person, using sprouted grain bread.  Or should that be "bread" in quotation marks, I'm uncertain.  The biggest issue with these muffins is that in my rush to not add honey but to substitute it with splenda, I forgot to sweeten them at all.  Whoops!


Sunday, March 16, 2014

Pop Tart Party


Earlier this year, a few co-workers planned a pop tart making party.  After work, we drove in a caravan over to B's home with pop tart fillings in tow.  Two people had made doughs to try, and we spent a few hours rolling out dough, filling it, baking the tarts, and tasting our concoctions. 


Some of the best fillings:
-Cinnamon sugar (recipe below)
-Prune (I based it on the apricot filling on this page but used prunes instead)
-Apricot jam
-Nutella

Some of the challenging fillings:
-Smores. Oh this sounds like SUCH a good idea right but the marshmallow burns out and leaves a gaping hole, or explodes through the dough (see below).
-Jam - in general unless it was a chunky jam (see above with apricot) more of it ended up on the cookie sheet than in the poptart.

You can find more ideas for fillings on this article about Bay Area Chefs.


My favorite dough comes from King Arthur Flour, because it was so flaky (pictured above in the hearts in the upper right)!  We also had this filling on hand, and it was tasty although bakes pretty thin inside the dough.

Pastry
2 cups (8 ½ ounces) King Arthur Unbleached All-Purpose Flour
1 tablespoon sugar
1 teaspoon salt
1 cup (2 quarter-pound sticks, 8 ounces) unsalted butter, cut into pats
1 large egg
2 tablespoons (1 ounce) milk

Cinnamon Filling
1/2 cup (3 ¾ ounces) brown sugar
1 to 1 1/2 teaspoons ground cinnamon, to taste
4 teaspoons King Arthur Unbleached All-Purpose Flour
1 large egg, to brush on pastry before filling
Make the dough: Whisk together the flour, sugar, and salt. Work in the butter until the mixture holds together when you squeeze it, with pecan-sized lumps of butter still visible. Mix the egg and milk, and add it to the dough, mixing just until everything is cohesive.

Divide the dough in half; each half will weigh about 10 ounces (about 280g). Shape each half into a rough 3" x 5" rectangle, smoothing the edges. Roll out immediately; or wrap in plastic, and refrigerate for up to 2 days.

Make the filling: Whisk together the sugar, cinnamon, and flour.

Assemble the tarts: If the dough has been chilled, remove it from the refrigerator and allow it to soften and become workable, about 15 to 30 minutes. Place one piece on a lightly floured work surface, and roll it into a rectangle about 1/8" thick, large enough that you can trim it to an even 9" x 12". Laying a 9" x 13" pan atop the dough will give you an idea if you’ve rolled it large enough. Trim off the edges; place the scraps on a baking sheet, and set them aside, along with the 9" x 12" rectangle of dough.

Roll the second piece of dough just as you did the first. Press the edge of a ruler into the dough you’ve just rolled, to gently score it in thirds lengthwise and widthwise; you’ll see nine 3" x 4" rectangles.

Beat the egg, and brush it over the entire surface of the dough. Place a heaping tablespoon of filling into the center of each marked rectangle. Place the second sheet of dough atop the first, using your fingertips to press firmly around each pocket of jam, sealing the dough well on all sides. Press the tines of a fork all around the edge of the rectangle. Cut the dough evenly in between the filling mounds to make nine tarts. Press the cut edges with your fingers to seal, then press with a fork, to seal again.

Gently place the tarts on a lightly greased or parchment-lined baking sheet. Prick the top of each tart multiple times with a fork; you want to make sure steam can escape, or the tarts will become billowy pillows rather than flat toaster pastries. Refrigerate the tarts (they don’t need to be covered) for 30 minutes, while you preheat your oven to 350°F.

Sprinkle the dough trimmings with cinnamon-sugar; these have nothing to do with your toaster pastries, but it’s a shame to discard them, and they make a wonderful snack. While the tarts are chilling, bake these trimmings for 13 to 15 minutes, till they’re golden brown.

Remove the tarts form the fridge, and bake them for 25 to 35 minutes, until they’re a light golden brown. Remove them from the oven, and allow them to cool on the pan.
Yield: 9 tarts.