Monday, March 29, 2021

Caramel Chai Custard Pie

For March and April, the baking cookbook for the Rainy Day Bites Cookbook Club is The Book On Pie by Erin Jeanne McDowell. I skipped the first challenge, which was the Easy Fancy Apple Pie, although I did make the Breakfast Pie in an earlier post. The second challenge was the Earl Grey Custard Pie in Gingersnap Crust with Salted Caramel. Since my birthday cake made of Earl Grey was not to my tastes, I was not about to make another full dessert with it! The alternate version was this Chai Caramel Custard Pie, where you steep chai tea in milk and cream before making the custard. The options for the crust were many - I went with pecan sandies cookie crumb crust, because I thought it might be a little lighter (and less like fall) than the gingersnap crust. 

Overhead shot of a caramel custard pie, toppied with whipped cream and cookie crumbles

 
I'm not sure I cooked the caramel long enough, but since it was just for a sauce, I didn't worry too much about it. I didn't have light karo, just dark, so it was harder to see that caramel moment.

Side view of one slice of pie, oozing with caramel


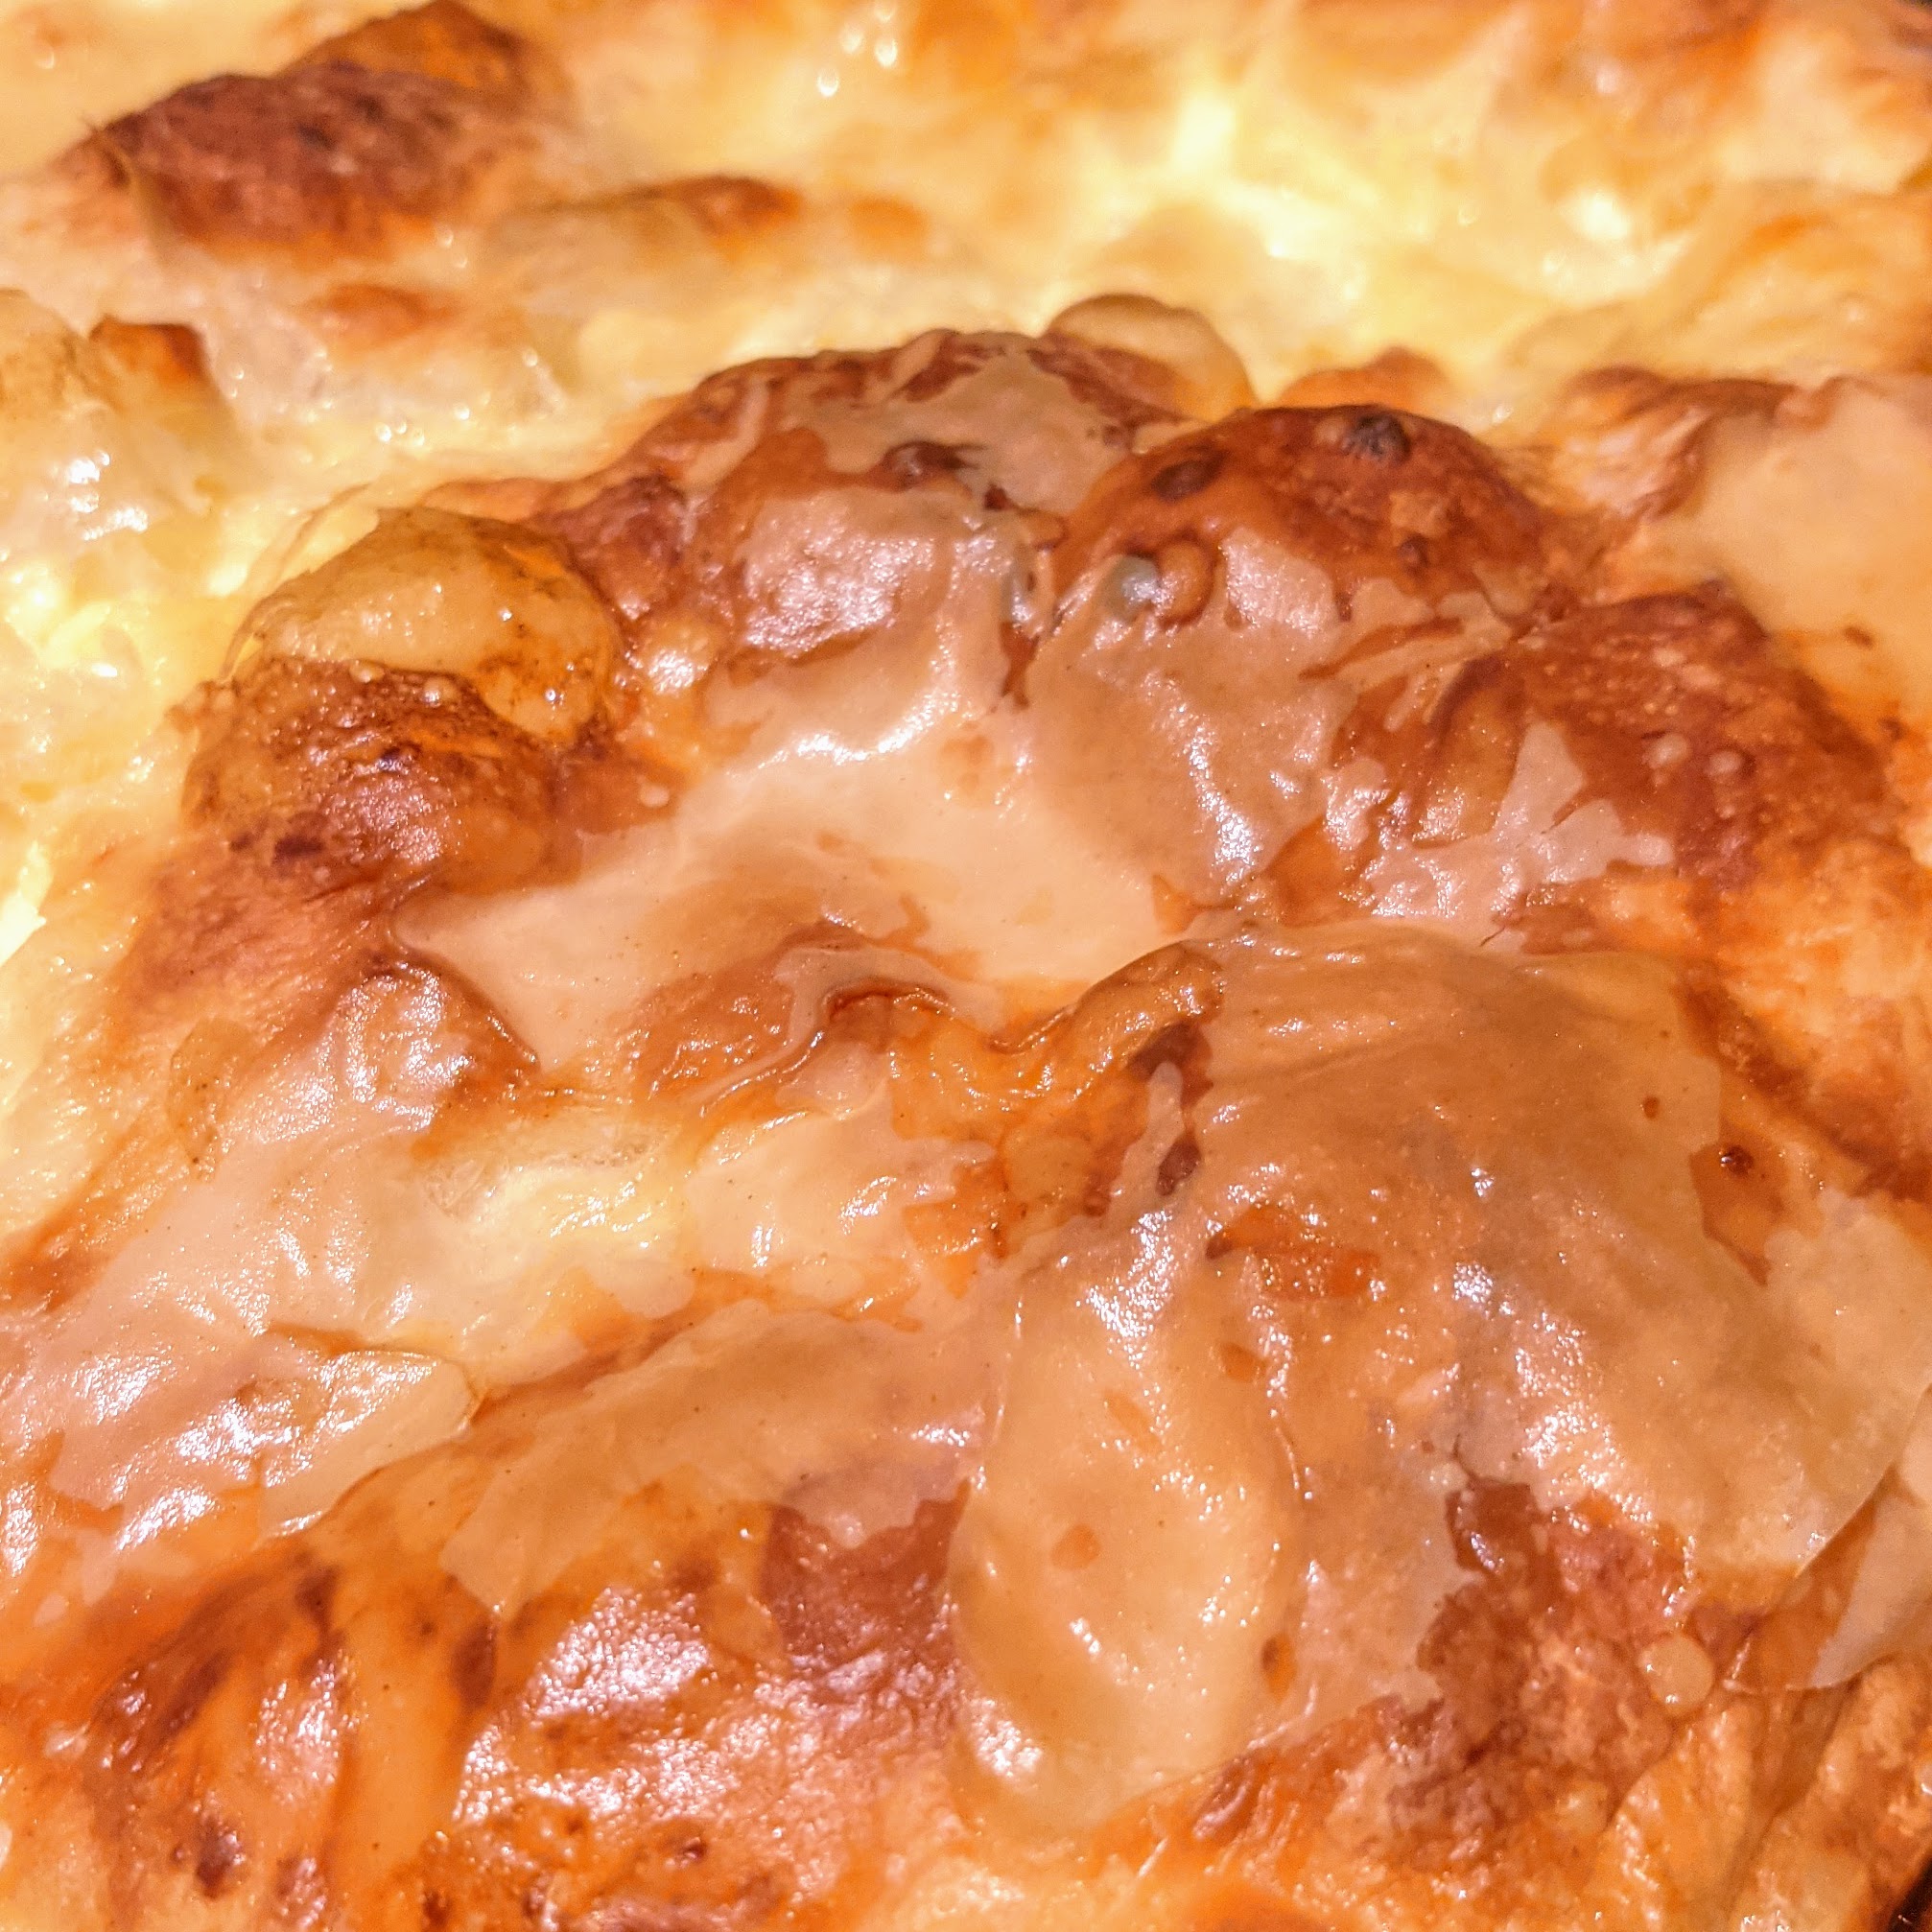
I think this would be a great Thanksgiving pie alternative for people who don't eat pumpkin, but maybe it could be balanced with nuts or more salt in the caramel - it is sweet sweet sweet! Actually I saw some were just drizzling the caramel on the whipped cream instead of coating the custard in the pie; that would be another option.

Caramel-Earl Grey Custard Pie (chai version below)

Source: Epicurious (identical to recipe in cookbook, plus links below to caramel and crust)
 
Yield
one 9-inch / 23-cm pie

Ingredients

  • 226 g / 1 cup whole milk
  • 78 g / ⅓ cup heavy cream
  • 8 g / ¼ cup loose Earl Grey tea (or 5 Earl Grey tea bags)
  • 212 g / 1 cup packed dark brown sugar
  • 7 g / 1 tablespoon cornstarch
  • 170 g / 3 large eggs
  • 5 g / 1½ teaspoons vanilla extract
  • 2 g / ½ teaspoon fine sea salt
  • One 9-inch / 23-cm Basic Crumb Crust made with gingersnap crumbs, parbaked and cooled completely
  • 1 recipe Salted Caramel Sauce (optional), well chilled
  • Full Batch of Classic Whipped Cream (optional)

Preparation

  1. In medium saucepan, bring the milk and cream to a simmer over medium heat. Remove from the heat, add the tea, and cover the pan. Let steep for 15 to 20 minutes, then strain the liquid into a medium bowl (or just remove the tea bags, if using, and pour into the bowl).
  2. Preheat the oven to 350°F / 175°C with a rack in the center (preferably with a Baking Steel or stone on it).
  3. In a medium bowl, stir the brown sugar and cornstarch together well to combine. Add this mixture to the milk mixture, along with the eggs, and whisk well to combine. Add the vanilla and salt and whisk until well incorporated.
  4. Place the parbaked crust on a parchment-lined baking sheet and pour the custard into it. Transfer to the oven and bake until the crust is deeply golden brown and the custard is set around the outside but still slightly jiggly in the center, 45 to 50 minutes. Cool completely, then refrigerate for at least 2 hours (or up to 24 hours).
  5. Pour some or all of the caramel glaze over the top of the pie and spread into an even layer over the surface. A thin layer will set firmer and a thicker layer will be gooier—or you can drizzle it over slices when serving. Refrigerate the pie for at least 1 hour, or until ready to slice and serve.
  6. Do Ahead: The pie can be made up to 24 hours ahead and refrigerated until ready to serve. 
Variation
Caramel-Chai Custard Pie in Shortbread Crumb Crust:
Replace the Earl Grey tea with an equal amount of chai. Make the crumb crust with shortbread or vanilla cookie crumbs.


Monday, March 22, 2021

Ultra-Buttery Irish Scones

I was poking around for something Irishish to make on an early St. Patrick's Day morning but didn't have dried fruit and didn't have buttermilk or lemon juice (and didn't feel like soda bread anyway) when I encountered a few recipes for so-called "Irish" scones. I chose this one from Epicurious because it was highly rated, made a half recipe, substituted chocolate chips for currants, and forgot one of the folds in the directions, but they were tasty enough. I can't figure out if there isn't enough salt in the recipe or I forgot to add it. It was an early morning! I've made a lot of scones; it's nice to have one that's a little different.

Closeup of an Irish scone in cute folds and mini chocolate chips sticking out, held in front of my husband's plaid shirt.


Ultra-Buttery Irish Scones

Yield
8 scones
Active Time
20 minutes
Total Time
45 minutes

Ingredients

  • 1 cup cold whole milk
  • 1/4 cup granulated sugar
  • 1 teaspoon kosher salt
  • 3 cups all-purpose flour, plus more for dusting
  • 2 1/2 teaspoons baking powder
  • 1 cup (2 sticks) cold unsalted butter, divided
  • 1/2 cup dried currants
  • Demerara or turbinado sugar (for sprinkling)
  • Flaky sea salt (for sprinkling)

Preparation

  1. Preheat oven to 375°. Line a rimmed baking sheet with parchment paper.
  2. Whisk milk, granulated sugar, and kosher salt in a medium bowl until sugar and salt dissolve. Whisk flour and baking powder in a large bowl. Cut 10 Tbsp. butter into 1/2" cubes, add to flour mixture, and blend with a pastry cutter or your fingertips until pea-size pieces form with some larger chunks remaining. Add milk mixture and stir with a fork until large clumps form. Gently knead in the bowl until dough just comes together. Transfer to a lightly floured work surface.
  3. With a lightly floured rolling pin, roll out dough to a 14x8" rectangle, with long side facing you. Heat 2 Tbsp. butter in a small, microwave-proof bowl in the microwave until softened but not melted, about 20 seconds. Spread evenly over dough with fingertips, then sprinkle currants evenly on top and press to adhere. Fold up bottom third of dough over center, then fold down top third to meet bottom edge, as if folding a letter. Fold in half crosswise, then, using a rolling pin, gently flatten into an 8x4" rectangle.
  4. Cut dough in half lengthwise and in quarters crosswise to form 8 even squares. Transfer to prepared pan, spacing 2" apart. Sprinkle tops generously with demerara sugar and lightly with flaky sea salt.
  5. Bake until scones are golden brown, 25-30 minutes. Meanwhile, melt remaining 4 Tbsp. butter in a small saucepan over medium-low heat. When butter bubbles, remove from heat and skim off foam from surface. As soon as the scones come out of the oven, lightly brush tops with clarified butter, leaving behind white solids in bottom of saucepan. Cool scones on sheet on a wire rack and serve hot, warm, or room temperature.
Do Ahead
Rolled and cut scone dough can be frozen in an airtight container up to 2 days. Bake directly from the freezer, increasing baking time as needed. Scones can be made 6 hours ahead-let cool completely and store in an airtight container at room temperature.


Monday, March 15, 2021

Breakfast Pi(e)

I almost always miss Pi Day, which is so silly of me. This year I was not going to be thwarted! I was looking through The Book on Pie: Everything You Need to Know to Bake Perfect Pies by Erin Jeanne McDowell, and found a recipe for Breakfast Pie that wasn't savory, but seemed like it would be a mix between a no-bake cheesecake and a yogurt parfait. Sold! And that's what it turned out tasting like.

Overhead shot of Breakfast Pie, with the word Pi outlined in blueberries, a creamy white surface, and a border of blueberries and raspberries.

If I made this again, I'm not sure I'd make it in pie shape because mine at least didn't set up firmly. I did use organic whole milk yogurt that wasn't Greek yogurt, not sure if that matters. The recipe called specifically for Greek style, but I missed that detail. There were a few more crust suggestions to pair with the recipe that also sounded good, especially oatmeal cookie crust. The pie mixture itself is super tasty and would be good in a trifle or parfait. It reminds me of the Russian Cream we made for Mother's Day at the restaurant I worked at in 2001 - it's a different combo of dairy ingredients but has a similar texture and tang, and is served with fruit. If I made this again in pie form I might also swirl the jam through instead of putting it just on the bottom. It all ended up mixed together when I served it anyway!

Side view of pie with raspberry close-up and the word "Pi" out of focus in the background


Breakfast Pie

2/3 cup jam, marmalade, or preserves
1 9-inch crumb crust made with granola, or graham cracker crust
12 oz cream cheese, at room temperature
2 cups plain Greek yogurt
1 tbsp fresh lemon juice
1 tsp vanilla extract
1/2 tsp fine sea salt
2 cups berries or sliced fresh fruit of choice
Honey for drizzling

  1. Spoon the jam into the bottom of the cooled crust and spread into an even layer. Chill while you make the filling.
  2. In the bowl of a stand mixer fitted with the paddle attachment, cream the cream cheese and brown sugar until light and fluffy, 4-5 minutes. Add the yogurt, lemon juice, vanilla, and salt and mix well to combine.
  3. Pour the filling into the chilled pie crust and spread into an even layer. Refrigerate for at least 8 hours (or up to 24 hours).
  4. When ready to serve, arrange the fruit on top of the pie. If desired, drizzle honey over the fruit. Slice and serve.

Notes from JennyBakes:

-It's easy to make a few subs for lower-sugar items here, from making more of a nut or low-carb granola crust to using a no-sugar-added jam to using coconut sugar or brown sugar splenda instead of brown sugar. I used brown sugar Splenda and it was fine. I didn't think we needed honey at all.

-Deb from Rainy Day Bites and I talked about how cute this would be to make in individual sizes and let people add their own fruits. A great makeahead brunchy pie or tart!


Monday, March 08, 2021

Gibanica - (Serbian) Cheese Pie

In researching foods from Montenegro, Serbia, and this general area on the internet, I went down many rabbit holes. There are bunches of variations of this cheese pie that is basically phyllo or the slightly thicker yufka dough, layered or rolled or scrunched in a dish, with a thin mixture of dairy products, that bakes up into this beautiful creation that is halfway between macaroni and cheese and lasagna, kind of. It is the perfect thing to do with that extra roll of phyllo you end up with after a project, but if you do that, make HALF this recipe please. The recipe I followed most closely comes from the Where is My Spoon? blog, a woman living in Germany. I say most closely because there is a wide range out there and I substituted some ingredients, and only had half the phyllo, so I just made it work. I think I used ricotta instead of cottage cheese and maybe half yogurt, half sour cream. 

Gorgeous browning top of the gibanica

 
I should warn you that on every post about this dish, there are people from other countries in the region claiming it for their country. I don't know where it comes from or who first made it, but I do know it is tasty.

Gibanica

Ingredients

  • 750 g/ 1.6 lb phyllo or yufka dough
  • 350 g/ 12.3 oz cow milk feta
  • 200 g/ 7 oz/ about ¾ cup sour cream
  • 200 g/ 7 oz/ about ¾ cup cottage cheese
  • ½ liter/ 17 fl.oz/ 2 cups whole milk
  • 5 eggs
  • 3 tablespoons olive oil, divided
  • fine sea salt to taste 

Slice side view, not pretty, but delicious comfort food
 

Instructions

Filling:

  1. Roughly mash the feta cheese with a fork in a large bowl.
  2. Add the lightly beaten eggs, sour cream, cottage cheese, whole milk and add salt to taste. The amount of salt you need depends on how salty the feta cheese is, you should definitely try the mixture and add salt accordingly.

Assemble the gibanica:

  1. Grease the baking dish (approximately 30x22 cm/ 12x9 inches) with 1 tablespoon olive oil.
  2. Open the packet of dough, take out two sheets of dough, while keeping the rest covered at all times. Cover the dough you are not working with with a damp towel to prevent it from drying out. Work quickly.
  3. Place the first two dough sheets in the greased baking dish. The dough sheets should hang over the edges of the baking dish, when you are finished with filling the pie, you will seal it using these overlapping pieces of dough.
  4. Place the bowl with the cheese slurry next to the baking dish. Take one dough sheet out of the packet, crumple it a bit (it doesn't matter if it breaks a little) and dip and run it through the cheese mixture.
  5. Press it lightly into your hand to give it a rough round shape and place this crumpled dough into the baking dish.
  6. Make sure to keep two last sheets of dough to close the pie, but otherwise use as many pieces of dough as needed to fill the baking dish.
  7. Pour the remaining cheese mixture over the crumpled dough in the dish.
  8. Fold the overlapping sheets of dough over the pie.
  9. Take the last two sheets of dough and place them over the pie as well.
  10. Mix together the remaining olive oil and 2 tablespoons hot water. Brush the top of the pie with this mixture and leave it to soak on the counter while you preheat the oven, my convection oven needs about 10 minutes to get hot.
  11. Preheat the convection oven to 170 degrees Celsius/ 340 degrees Fahrenheit or a regular oven to 190 degrees Celsius/ 375 degrees Fahrenheit.
  12. Bake the gibanica for about 45 minutes or until golden brown and set.
  13. Serve hot or cold as suggested above.


Notes from JennyBakes:

You can interchange some of the dairy ingredients, but feta is a pretty important flavor. When you put it in the oven, it is fairly liquidy but if you scale up and down with the amount of phyllo/yufka, you should also scale up and down the other ingredients. That said if you've fit all you can fit and you just put in what looks right, it's hard to ruin this dish. The original recipe's pictures looks smoother than mine but I went a little rogue. 


Monday, March 01, 2021

Confetti/Funfetti Birthday Cake

One of the first visits at our house with the two boys we are adopting coincided with the birthday week of the older one. I got ingredients for three kid-friendly cakes and let him choose - Funfetti Layer Cake from Sally's Baking Addiction, and two options that looked great from Joy the Baker- Everybody's Birthday Cake, and a Southern-style strawberry cake. (When I don't know what to bake, it's so nice to have some favorite bakers I trust!) He went with funfetti! Who wouldn't? I was a bit nervous making a cake from scratch because sometimes a butter cake gets dry. I would recommend this recipe, and to link back to Sally's Baking Addiction for her tips, tricks, and beautiful photos.

A slice of sprinkle-speckled cake

Funfetti Layer Cake


Ingredients


Funfetti Cake

  • 3 and 3/4 cups (431g) sifted all-purpose flour
  • 1 teaspoon baking powder
  • 1 teaspoon baking soda
  • 1 teaspoon salt
  • 1 and 1/2 cups (3 sticks; 345g) unsalted butter, softened to room temperature
  • 1 and 3/4 cups (350g) granulated sugar
  • 4 large eggs, room temperature
  • 2 large egg whites, room temperature
  • 3 teaspoons (15ml) pure vanilla extract
  • 1 and 1/2 cups (360ml) buttermilk, room temperature
  • 3/4 cup (142g) rainbow sprinkles

Vanilla Frosting

  • 1 and 1/2 cups (3 sticks; 345g) unsalted butter, softened to room temperature
  • 6 cups (700g) sifted confectioners’ sugar
  • 1/3 cup (80ml) heavy cream
  • 3 teaspoons (15ml) pure vanilla extract (or use clear imitation vanilla extract for stark white frosting)
  • 1/8 teaspoon salt
  • optional: additional sprinkles for garnish

Directions

  1. Preheat oven to 350°F (177°C). Grease and lightly flour three 9-inch cake pans.
  2. Make the cake: Whisk the sifted flour, baking powder, baking soda, and salt together in a large bowl. Set aside. Using a handheld or stand mixer fitted with a paddle attachment, beat the butter on high speed until smooth and creamy – about 1 minute. Add the sugar and beat on high speed for 5 full minutes until creamed together fairly well. Scrape down the sides and up the bottom of the bowl with a rubber spatula as needed. On medium-high speed, add 1 whole egg at a time, beating well after each addition until all 4 whole eggs are mixed in. Set the 2 egg whites aside for now. Beat in the vanilla extract. Scrape down the sides and up the bottom of the bowl with a rubber spatula as needed.
  3. With the mixer on low speed, add the dry ingredients in three additions alternating with the buttermilk, beginning and ending with the dry ingredients, and mixing each addition just until incorporated. Do not overmix this batter. The batter will be smooth, velvety, and slightly thick. Vigorously whisk or beat the 2 additional egg whites until thick, foamy, and soft peaks form- about 3 minutes. Gently fold into the batter. Finally, fold the sprinkles into the batter. Spoon/pour batter evenly into each cake pan.
  4. Bake for around 25 minutes or until the cakes are baked through. To test for doneness, insert a toothpick into the center of the cake. If it comes out clean, it is done. Allow cakes to cool completely in the pans set on a wire rack. The cakes must be completely cool before frosting and assembling.
  5. Make the frosting: In a large bowl using a hand-held mixer or stand mixer fitted with a whisk or paddle attachment, beat the butter on medium speed until creamy – about 2 minutes. Add confectioners’ sugar, cream, vanilla extract, and salt with the mixer running on low. Increase to high speed and beat for 3 full minutes. Add more confectioners’ sugar if frosting is too thin, more cream if frosting is too thick, or a pinch more of salt if frosting is way too sweet.
  6. Assemble and frost: First, using a large serrated knife, slice a thin layer off the tops of the cakes to create a flat surface. Discard (or crumble over ice cream!). Place 1 cake layer on your cake stand or serving plate. Evenly cover the top with frosting. Top with 2nd layer and evenly cover the top with frosting. Finish with the third cake layer and spread the remaining frosting all over the top and sides. I tinted extra frosting both pink (1 drop pink food coloring) and blue (1 drop blue coloring) and used a Wilton 1M tip to pipe it around the top edges. Decorate top of cake with sprinkles, if desired.